


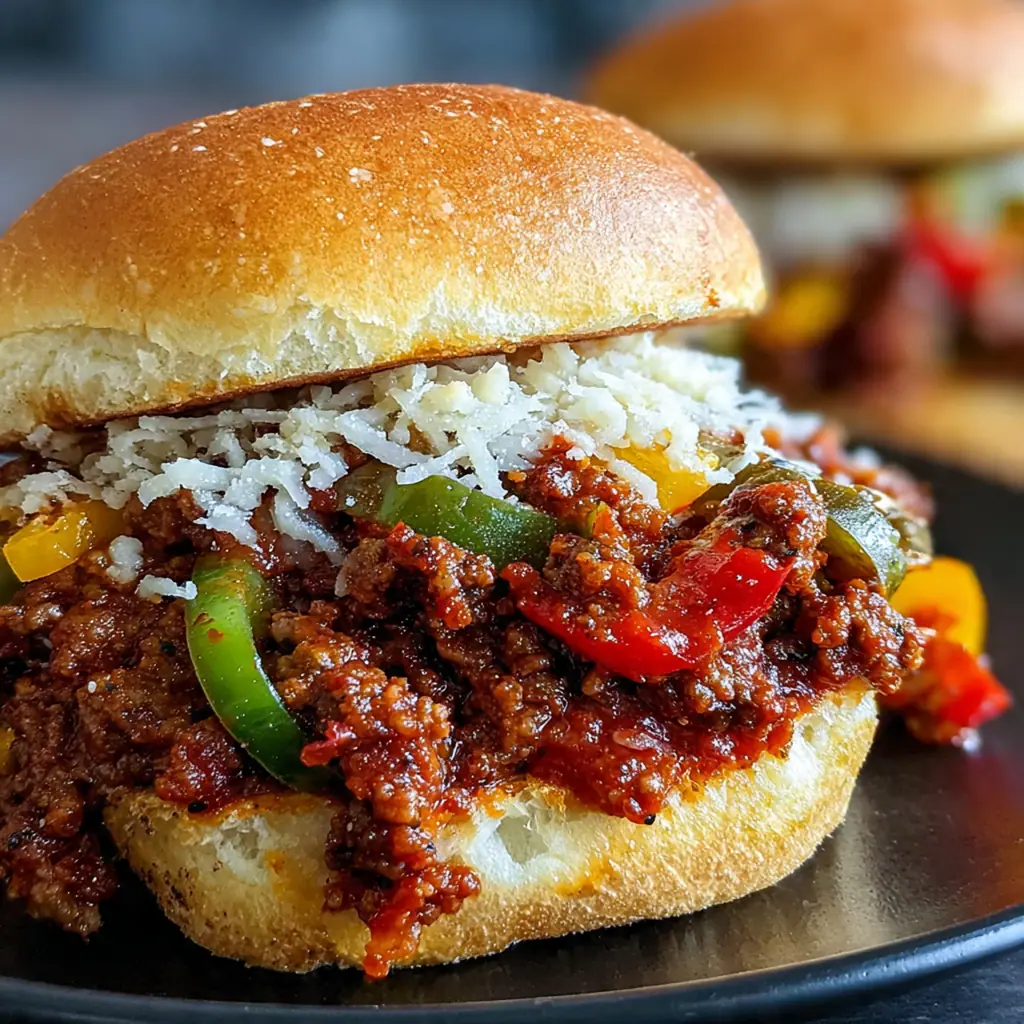
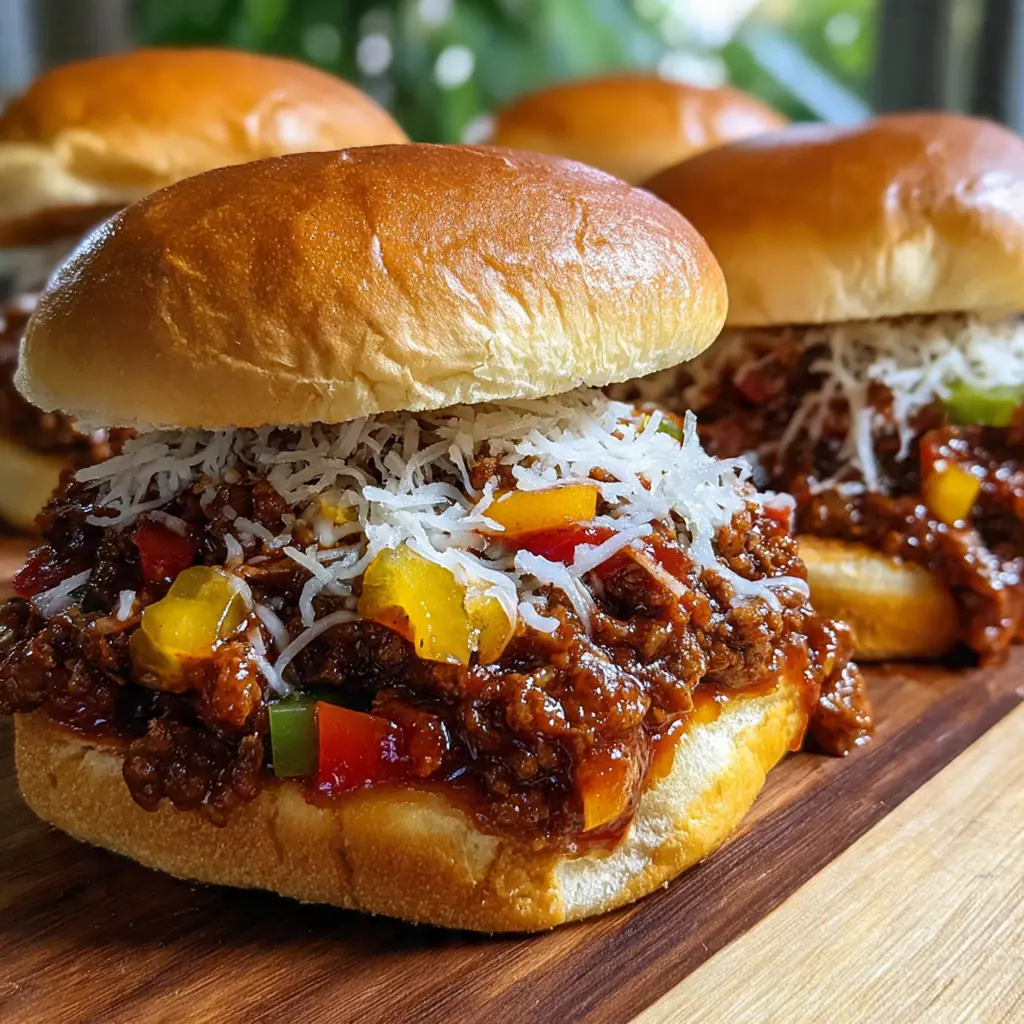
These classic homemade sloppy joes deliver the perfect sweet, tangy, and savory sandwich you crave, all ready in under 30 minutes. They capture that nostalgic, messy comfort of childhood dinners but are so much better because you control every ingredient. This all-American classic is a one-pan wonder that turns simple pantry staples into a rich, glossy filling that’s guaranteed to please a crowd. It’s the ultimate easy weeknight win that brings everyone to the table.
Why You'll Love This Recipe
- A one-pan dinner ready in just 30 minutes from start to finish
- The sauce simmers into the perfect sweet, tangy, and savory balance
- Far superior to anything you’d get from a can or a school cafeteria
- It’s incredibly versatile and a total crowd-pleaser for kids and adults
- I make these when I need a guaranteed happy dinner.
Ingredients You’ll Need
- Olive or vegetable oil: It starts the cooking process and helps the veggies sauté without burning. A good neutral oil is all you need here.
- Yellow onion: Finely diced for sweetness and texture that melts right into the sauce. It’s the flavor foundation of the filling.
- Green bell pepper: Adds a fresh, slightly sweet crunch and classic flavor. Choose a firm, shiny pepper without soft spots.
- Garlic: Minced fine to release its aromatic oils and create that savory backbone. Fresh is best for a brighter punch.
- Lean ground beef: The star of the show that gives the filling its hearty, meaty texture. A 90/10 blend gives you flavor without too much grease to drain.
- Ketchup: The sweet and tangy base of the sauce that gives sloppy joes their signature color and familiar taste.
- Water: Thins the sauce just enough to let everything simmer and meld together perfectly.
- Tomato paste: Concentrated tomato flavor that deepens the richness and helps thicken the sauce beautifully.
- Brown sugar: Packed to add a molasses-like sweetness that balances the vinegar tang. It’s the secret to that classic taste.
- Yellow mustard: Brings the essential tangy, slightly sharp note that cuts through the richness.
- Worcestershire sauce: Adds a complex, savory depth with its blend of vinegar, molasses, and spices. It’s a non-negotiable flavor booster.
- Chili powder: A warm, gentle spice that builds flavor without adding noticeable heat, perfect for family-friendly meals.
- Smoked paprika: Lends a subtle smokiness and gorgeous red color to the finished filling.
- Salt and black pepper: For seasoning the meat and balancing all the other flavors in your homemade sauce.
- Hamburger buns: Lightly toasted to add crunch and stand up to the saucy filling without getting soggy.
- Dill pickles, cheese, jalapeños, hot sauce: Optional toppings for customizing your sandwich with crunch, creaminess, or heat.
How to Make It
Heat Oil and Sauté Veggies:
Grab your largest skillet or Dutch oven and heat the oil over medium-high heat. Toss in the diced onion and bell pepper, letting them cook until they soften and get those lovely little browned edges. This step builds the flavor base, so don’t rush it.
Add the Garlic:
Push the veggies to the side and add your minced garlic right into the center of the pan. Give it just a minute to cook, stirring constantly until it becomes incredibly fragrant. You’ll know it’s ready when your whole kitchen smells amazing.
Brown the Ground Beef:
Add all the ground beef to the skillet, using a wooden spoon to break it up into small crumbles as it cooks. You want it browned all over with no pink spots left. If there’s a lot of excess grease, just tip the pan and carefully spoon it out.
Whisk the Sauce Together:
While the beef cooks, grab a bowl and whisk together the ketchup, water, tomato paste, brown sugar, mustard, Worcestershire, and all the spices. This ensures every flavor is evenly distributed before it hits the hot pan, creating a perfectly balanced sauce.
Combine and Simmer:
Pour your sauce mixture right over the cooked beef and veggies, stirring until everything is beautifully coated. Bring it to a lively bubble, then immediately reduce the heat to low. Let it simmer gently, uncovered, for about 10 to 15 minutes.
Thicken the Sauce:
This is the magic step. As it simmers, stir it occasionally and watch the sauce reduce and thicken into a glossy coating that clings to the meat. The texture should be saucy but not runny. The wait is totally worth it.
Toast the Buns:
While the filling simmers, split your buns and toast them lightly. You can do this in a toaster, under the broiler, or even in a dry skillet. This creates a crucial barrier against sogginess and adds a nice textural contrast.
Final Seasoning and Serve:
Give your sloppy joe mixture one last taste and adjust the salt or pepper if needed. Spoon it generously onto those toasted buns, top with your favorite extras, and serve immediately while everything is hot and juicy.
You Must Know
- Dice your onion and pepper small for the best texture
- Simmering for the full time is key for flavor and thickness
- Always toast your buns to prevent a soggy mess
- The filling freezes beautifully for future easy meals
- My family argues over who gets the last spoonful.
Storage Tips
Store any leftover sloppy joe filling in an airtight container in the fridge where it’ll keep perfectly for three to four days. When you’re ready to eat, reheat it gently in a saucepan over medium-low heat, adding just a splash of water if the sauce seems a bit too thick. You can also freeze the cooled filling in a freezer-safe container or bag for up to three months – just thaw it overnight in the fridge before reheating. I often make a double batch just to have some stashed away for a crazy night.
Ingredient Substitutions
If you don’t have ground beef, ground turkey, chicken, or a plant-based crumble work great; just know you might need to add an extra tablespoon of oil to the pan since they’re leaner. Swap the green bell pepper for a red or yellow one for a sweeter vibe, or use a diced poblano if you want less crunch. No brown sugar? An equal amount of white sugar or even a little maple syrup will do in a pinch. For a gluten-free version, simply use your favorite gluten-free buns and double-check your Worcestershire sauce label, as some brands contain wheat.
Serving Suggestions
Serve these sloppy joes with classic, no-fuss sides like a big bag of crunchy potato chips or crispy sweet potato fries for that perfect salty contrast. A simple green salad with a sharp vinaigrette or some cool, creamy coleslaw helps cut through the richness beautifully. For a fuller meal, add some carrot sticks, cucumber slices, or even a side of baked beans – it’s a combo that never fails. I sometimes skip the bun entirely and spoon the filling over a baked potato or into a hot dog bun for a fun twist.
Cultural Context
Sloppy joes are a pure, unabashed piece of American comfort food history, likely originating from the loose meat sandwiches served in diners during the mid-20th century. They became a staple of home kitchens and school cafeterias thanks to their affordability, simplicity, and crowd-pleasing nature. This recipe leans into that nostalgic tradition but skips the canned sauce, honoring the homemade approach that turns basic ingredients into something special. It’s less about gourmet precision and more about the joyful, communal act of eating something delicious and satisfying with your hands.
Pro Tips
- Let the filling simmer uncovered so the sauce reduces properly
- Try a splash of apple cider vinegar for extra tang
- Use a potato masher to break up ground beef super fine
- A pinch of red pepper flakes adds a nice warmth
- I always make extra for tomorrow’s lunch.
Frequently Asked Questions
Lean ground beef (90/10) is ideal as it provides great flavor without excessive grease. The fat content is just enough to keep the meat moist and savory, complementing the tangy, sweet tomato-based sauce perfectly without making the final dish oily.
Absolutely! The filling actually tastes even better the next day. Let it cool completely, then store it in an airtight container in the refrigerator for up to 3 days. Reheat gently on the stovetop or in the microwave, adding a splash of water if needed.
You can use red, yellow, or orange bell peppers for a sweeter flavor. For a different twist, try diced poblano peppers for mild heat, or simply leave them out. The onion and garlic will still provide a great aromatic base for the sauce.
The sauce is ready when it’s thick, glossy, and clings to the meat without a pool of liquid in the pan. It should take about 10-15 minutes of simmering after all ingredients are combined. Stir occasionally to prevent sticking.
Classic American sides pair perfectly. Think crispy french fries, tater tots, a simple green salad, or creamy coleslaw. For a vegetable side, try roasted broccoli, carrot sticks, or buttered corn on the cob.