

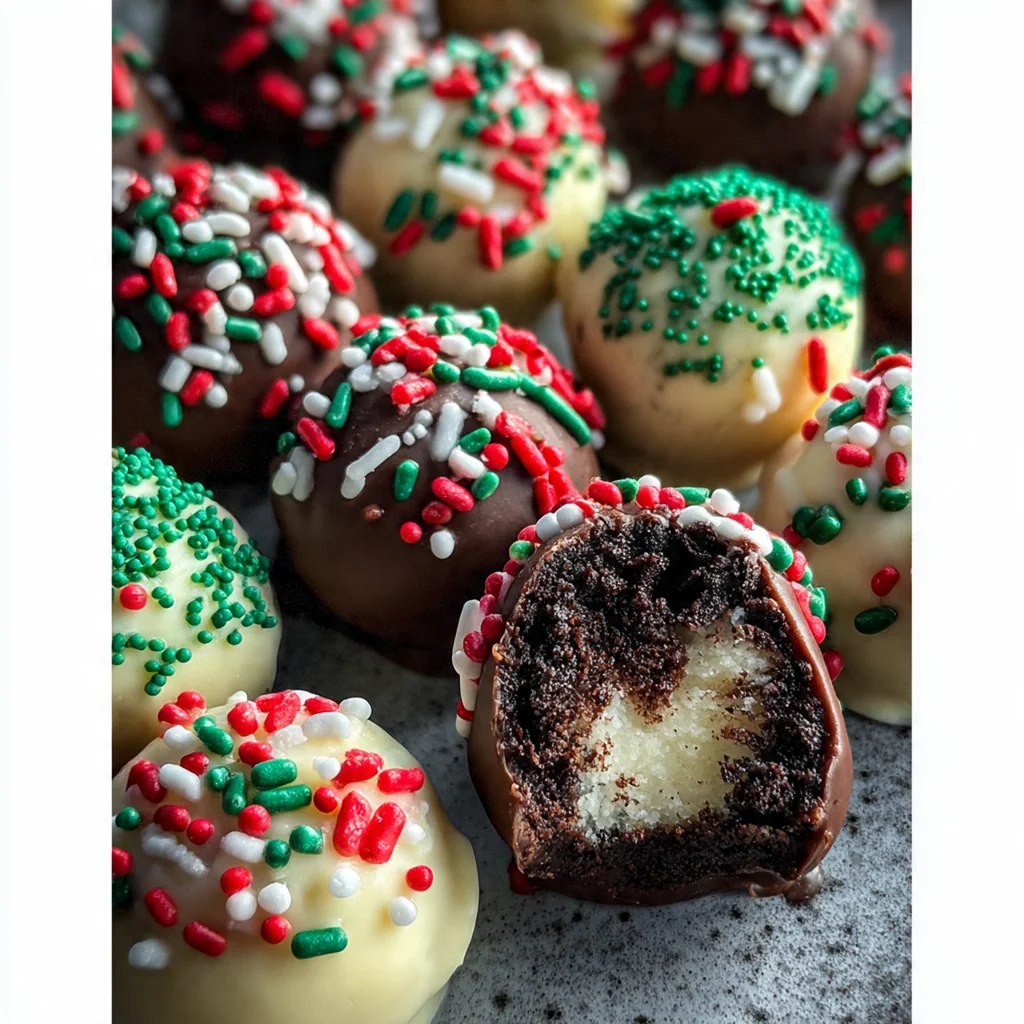
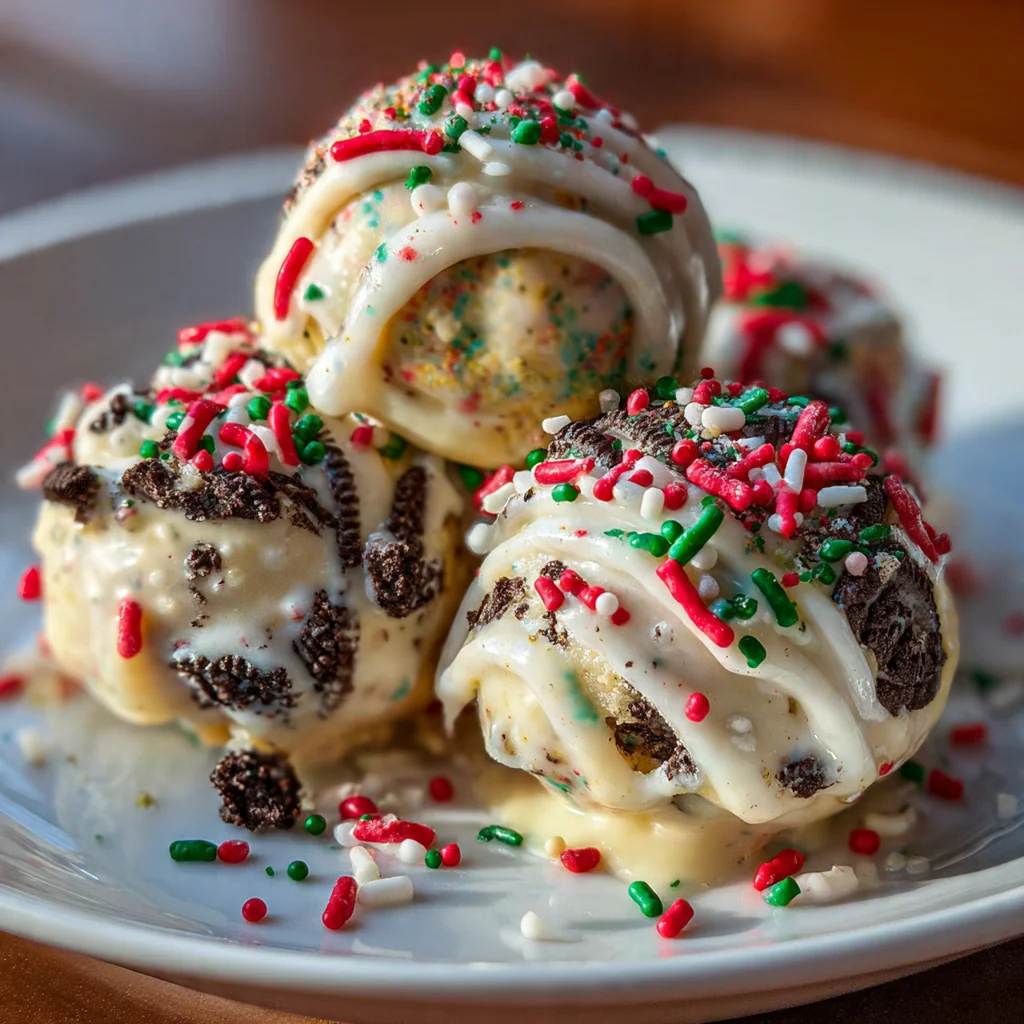
These Festive Christmas Oreo Balls are the no-bake holiday miracle that always disappears first from my dessert table. Born in American kitchens as a clever, easy treat, they cleverly turn cookies and cream cheese into elegant, hand-held delights perfect for sharing. They are completely customizable with your favorite festive sprinkles and flavors, making them a joy to create. The combination of rich Oreo center and smooth white chocolate is simply irresistible, especially during the holiday season.
Why You'll Love This Recipe
- You don’t need to turn on your oven at all to make them
- They’re the perfect activity for a cozy, festive kitchen day with friends or kids
- You can easily change up the colors and flavors for any holiday
- They make wonderful homemade gifts that everyone adores
- I promise you’ll get asked for the recipe every single time
Ingredients You’ll Need
- Christmas Oreo cookies: Using the festive red and green creme cookies adds instant holiday cheer. The entire cookie, filling included, is the base of our decadent center, so don’t scrape anything out.
- Brick-style cream cheese: This type is thicker and less watery than spreadable versions, giving the truffles a stable, creamy texture. Letting it soften fully at room temperature is the secret to a lump-free mixture.
- Pure vanilla extract: A splash enhances the sweetness of the chocolate and cream cheese, adding a warm, classic flavor note. Always reach for the real stuff over imitation for the best taste.
- Fine sea salt: Just a tiny pinch is all you need to balance the sweetness and make all the other flavors pop. It’s the quiet hero that keeps these from tasting one-dimensional.
- Peppermint extract: This optional addition brings that classic, cooling holiday flavor that pairs magically with chocolate. Start with just a half teaspoon so it doesn’t overpower the Oreo.
- White chocolate baking bars: High-quality bars with real cocoa butter melt smoothly and taste infinitely better than chips or candy coatings. Chopping them finely is key for even, gentle melting.
- Vegetable shortening or refined coconut oil: A little bit mixed into the chocolate gives it a beautiful sheen and helps thin it for the perfect dipping consistency. It prevents the chocolate from seizing up, too.
- Christmas sprinkles and crushed candy canes: These aren’t just decoration; they add wonderful texture and bursts of flavor. Using a mix of shapes and sizes makes each Christmas Oreo ball look unique and festive.
How to Make It
Set Up Your Station:
Begin by lining a large baking sheet with parchment paper – this will save you from a sticky mess later. Having your station ready before you start mixing means you can focus on the fun part. This little bit of prep makes the whole process smooth and enjoyable. Create the Oreo Crumbs: Place all the Oreo cookies from the package right into your food processor. Pulse them until you have fine, uniform crumbs that look almost like dark sand. If you don’t have a processor, a zip-top bag and a rolling pin work just as well, though it takes a bit more elbow grease. Mix the Truffle Dough: In a large bowl, combine your Oreo crumbs with the softened cream cheese, vanilla, salt, and peppermint extract if you’re using it. Use a hand mixer or a strong spoon to beat it all together until it’s completely uniform and holds together like a soft, pliable dough. Shape and Chill the Balls: Use a small cookie scoop or tablespoon to portion the dough, then roll each piece between your palms into a neat one-inch ball. Place them on your prepared baking sheet. Once they’re all shaped, pop the whole tray into the freezer for at least thirty minutes to firm up. Melt the Chocolate for Dipping: While the balls chill, place about half of your finely chopped white chocolate and half of the shortening in a microwave-safe bowl. Heat in short 20-second bursts, stirring vigorously in between, until the chocolate is completely melted and silky smooth. Dip and Decorate: Take a few balls out of the freezer at a time. Spear one with a fork, dip it into the melted chocolate, let the excess drip off, and gently slide it back onto the parchment. Immediately add your sprinkles or crushed candy canes before the chocolate sets, working quickly for the prettiest look. Set and Drizzle: Once all your Christmas Oreo balls are dipped and decorated, refrigerate the whole tray for about an hour until the coating is completely firm. For a final festive touch, melt the remaining chocolate and shortening and drizzle it over the set balls with a spoon or piping bag. Store and Serve: Keep your finished treats in an airtight container in the refrigerator. They taste best chilled, straight from the fridge, which makes them the ultimate make-ahead dessert for any holiday gathering or last-minute gift.
You Must Know
- Freezing the balls before dipping is non-negotiable for success
- High-quality white chocolate bars are a game-changer for flavor and texture
- Softening the cream cheese completely prevents a lumpy, gritty filling
- A food processor is your best friend for the finest, smoothest crumbs
Storage Tips
Store your finished Christmas Oreo Balls in a single layer in an airtight container in the fridge, where they’ll stay perfect for up to two weeks. For longer storage, freeze them solid on a tray first, then transfer to a freezer bag or container for up to three months – just thaw them overnight in the fridge before serving. I always keep a secret stash in the back of my freezer for unexpected holiday guests, and they’re just as good as the day I made them.
Ingredient Substitutions
If you can’t find the holiday Oreos, regular ones work just as well for the flavor, though you’ll miss the festive red and green center. For a different coating, you can swap the white chocolate for dark or milk chocolate bars, but avoid using chocolate chips as they contain stabilizers that don’t melt as smoothly. Don’t have peppermint extract? A quarter teaspoon of mint extract works, or you can simply leave it out for a classic cookies and cream flavor. Any festive sprinkles, crushed hard candies, or even a dusting of cocoa powder make lovely toppings.
Serving Suggestions
Arrange these Christmas Oreo Balls on a tiered stand or a simple platter alongside other holiday favorites like fudge and gingerbread cookies for a stunning dessert display. They’re fantastic with a cup of hot cocoa or coffee after dinner, and kids love them with a glass of cold milk. I also love packing a few into small cellophane bags tied with ribbon for the sweetest, most appreciated homemade gift you can give.
Cultural Context
This treat is a quintessential American no-bake dessert, a modern classic born from the love of Oreo cookies and the holiday tradition of cookie exchanges and homemade confections. It sits right alongside rice crispy treats and chocolate bark as a beloved, approachable recipe that home cooks of all skill levels embrace during the busy festive season. The practice of coating truffles in chocolate dates back centuries, but this playful, cookie-centric version is a distinctly contemporary addition to the holiday table, reflecting our love for convenience and big, nostalgic flavor.

Pro Tips
- If your chocolate gets too thick while dipping, just stir in another tiny bit of shortening
- A small cookie scoop ensures every ball is the same size for even dipping
- Let excess chocolate drip back into the bowl for a thin, even coating
- Decorating immediately after each dip is key as the chocolate sets fast
- I always double the recipe because they disappear so quickly
Frequently Asked Questions
For the most festive result, use the seasonal Christmas Oreos with the red and green filling. However, any regular or double-stuff Oreo will work perfectly, as the cream filling is essential for the right texture and flavor in the no-bake centers.
Absolutely! These no-bake treats are ideal for making ahead. Store them in an airtight container in the refrigerator for up to a week, or freeze them for up to 3 months. They’re perfect for getting a head start on your holiday baking and gifting.
If you prefer, you can use milk, dark, or even colored candy melts. For the best texture and flavor, use high-quality baking bars (not chips) and always add a teaspoon of shortening or coconut oil to help the chocolate melt smoothly for dipping.
For a smooth, even coating, ensure your balls are very cold before dipping. Use a fork to lower them into the melted chocolate, tap off the excess, and slide them onto parchment paper. Adding a bit of shortening to the chocolate helps it stay fluid and thin for perfect coverage.
These rich, sweet treats are perfect on their own as a dessert or party favor. For a festive spread, pair them with other American holiday classics like hot cocoa, peppermint bark, or sugar cookies. They also make a wonderful homemade gift when packaged in a cute box or tin.