

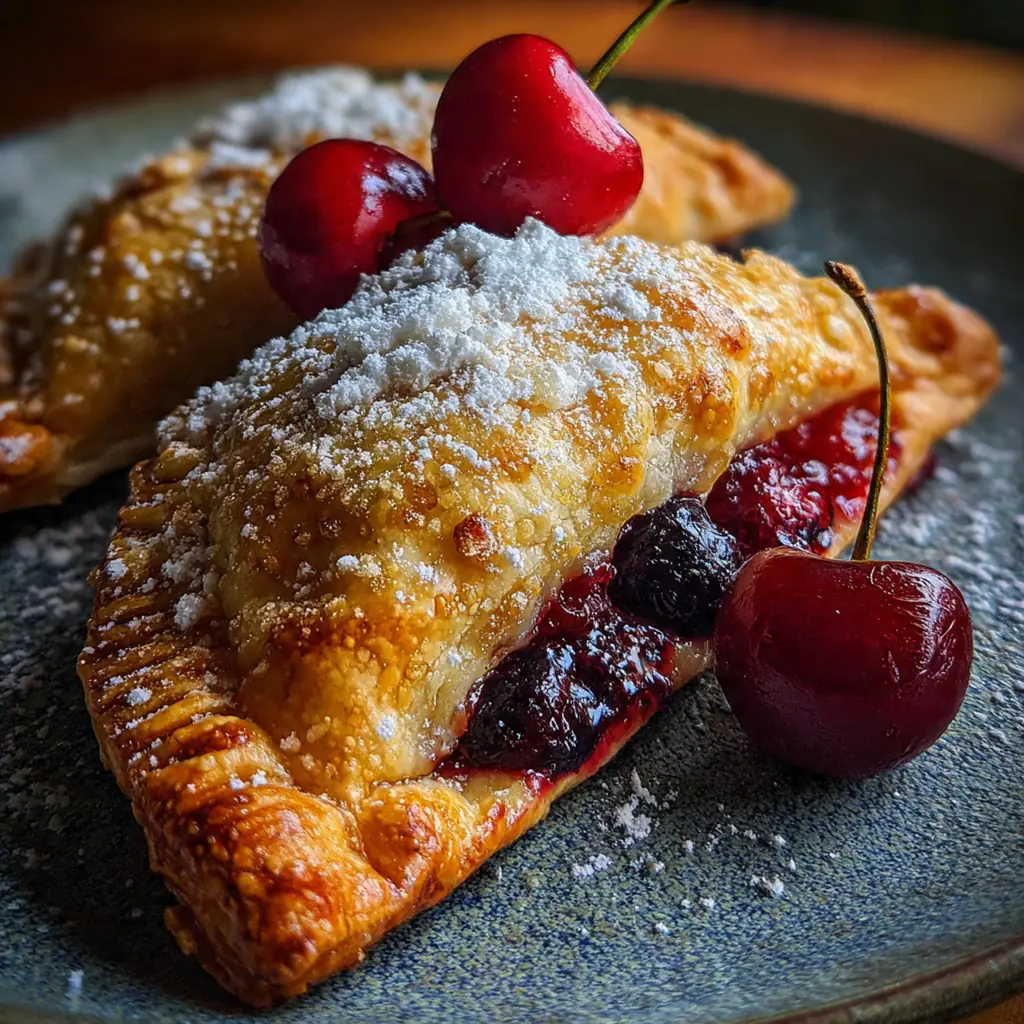
A perfectly made cherry hand pie is summer’s ultimate portable dessert, wrapping a sweet-tart filling in a buttery, flaky crust. This classic American treat, rooted in the tradition of making fruit pies more packable for lunches and picnics, feels nostalgic and joyfully simple to bake at home. The homemade crust makes all the difference, and you’ll love how the cherry filling strikes that ideal balance of flavor. It’s a recipe that captures the essence of the season in every single bite.
Why You'll Love This Recipe
- They’re the perfect grab-and-go snack for any summer adventure
- You get a flaky, tender homemade crust in every single bite
- The cherry filling is the ideal mix of sweet and bright tartness
- Freeze a batch and you’ve got future cravings covered
- My family fights over the last one every single time
Ingredients You’ll Need
- All-purpose flour: forms the sturdy yet tender structure of your crust, so make sure you measure it correctly by spooning it into your cup.
- Salt: balances the sweetness and enhances all the other flavors in both the crust and the filling.
- Granulated sugar: a little in the crust adds flavor and a touch of browning, while more sweetens the cherry filling perfectly.
- Cold unsalted butter: the key to a flaky, layered crust, so keep it chilled right up until you mix it in.
- Ice water: binds the dough together without melting the butter, which is crucial for that sought-after flaky texture.
- Pitted cherries: fresh summer cherries are fantastic, but frozen work year-round if you drain them well to avoid a soggy filling.
- Cornstarch: thickens the cherry juices as they cook, creating a glossy, jam-like filling that won’t leak out.
- Lemon juice: adds a necessary hit of acidity that brightens the cherry flavor and keeps it from tasting flat.
- Almond extract: this optional touch adds a subtle, bakery-style depth that pairs beautifully with stone fruit.
- Large egg: beaten with water to create an egg wash that gives your hand pies a gorgeous golden, shiny finish.
- Coarse sugar: sprinkled on top before baking for a delightful crunch and a professional-looking sparkle.
How to Make It
Mix Your Pie Dough:
Start by whisking the flour, salt, and that first tablespoon of sugar together in a large bowl. Use a pastry cutter or your fingertips to cut the cold, cubed butter into the flour until you see pea-sized crumbs. Drizzle in the ice water a little at a time, stirring with a fork, and stop as soon as the dough holds together when pinched. Divide it into two discs, wrap them up, and chill for at least half an hour – this relaxes the gluten and re-chills the butter for maximum flakiness.
Cook the Cherry Filling:
Combine the pitted cherries, sugar, cornstarch, lemon juice, and almond extract if you’re using it in a saucepan. Cook it over medium heat, stirring often so the cornstarch doesn’t clump, until the mixture bubbles and thickens into a glossy, jammy consistency. Take it off the heat and let it cool completely on the counter – a warm filling will steam your dough and create a soggy bottom, so patience is key here.
Roll and Cut the Dough:
Once your dough is chilled and your filling is cool, preheat your oven and line a baking sheet. On a lightly floured surface, roll one dough disc out to an even eighth-inch thickness. Use a five-inch round cutter to stamp out circles, re-rolling the scraps to get as many as you can. Repeat with the second disc until you have about sixteen circles total.
Fill and Seal the Hand Pies:
Place a heaping tablespoon of the cooled cherry filling right in the center of eight of your dough circles. Whisk the egg with a tablespoon of water to make your egg wash, then brush it around the edges of each filled circle. Top each one with a plain dough circle, press the edges together firmly, and then crimp them with a fork to create a tight, decorative seal.
Finish and Vent the Tops:
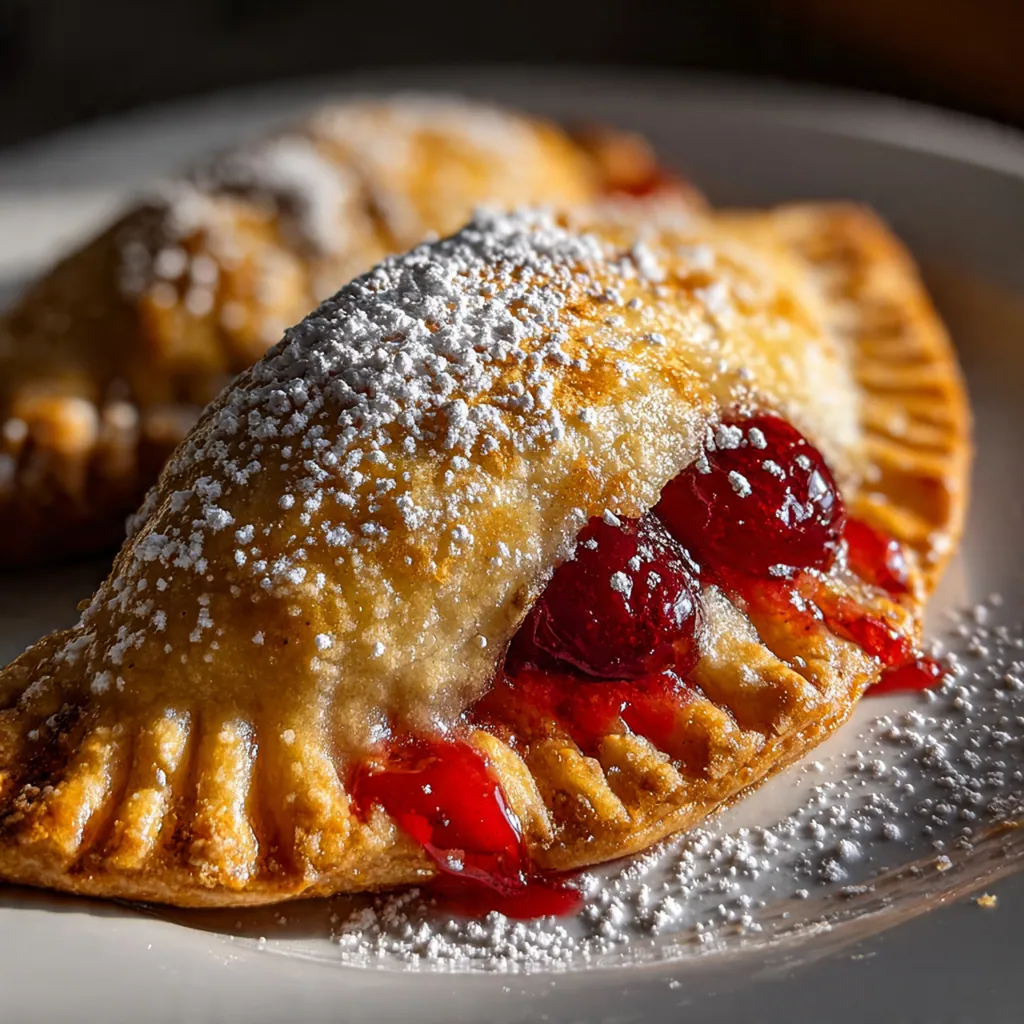
Brush the tops of each assembled cherry hand pie with the remaining egg wash – this is what gives you that beautiful golden-brown color. Generously sprinkle the coarse sugar over the top for a sweet, crunchy finish. Don’t forget to take a sharp knife and cut two or three small slits in the top of each pie; this lets steam escape so your filling doesn’t burst the seams.
Bake to Golden Perfection:
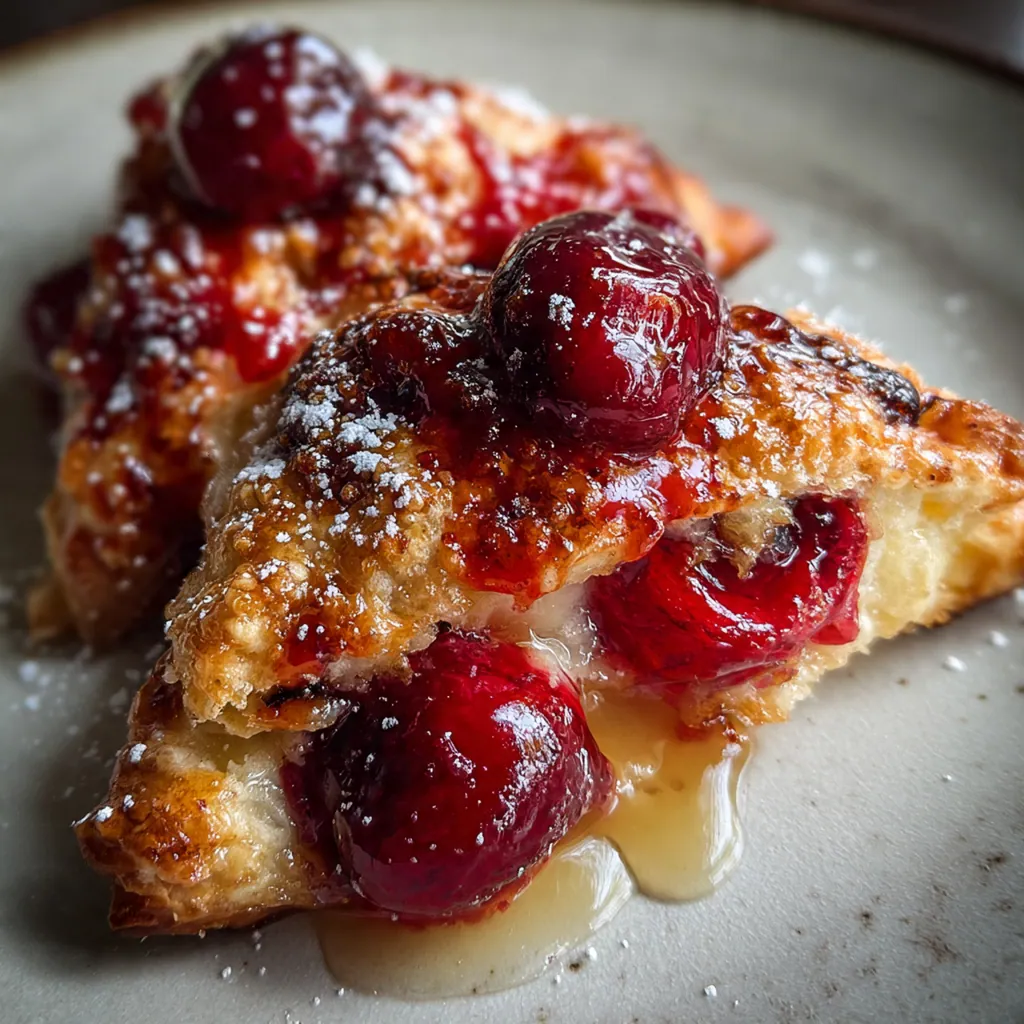
Bake your hand pies on the prepared sheet for twenty to twenty-five minutes. You’re looking for a deep golden brown crust that’s visibly flaky and crisp. The filling will likely bubble a bit through the steam vents, which is exactly what you want to see.
Cool Completely:
Let the pies rest on the baking sheet for about five minutes after they come out of the oven; they’re too fragile to move right away. Then, carefully transfer them to a wire rack to cool completely, which lets the filling set and the crust crisp up fully. They smell amazing, but waiting ensures you get the perfect texture.
You Must Know
- Keep your butter and water ice-cold for the flakiest crust possible
- Cool the filling completely to prevent a soggy bottom crust
- Don’t overfill the circles or the filling will leak during baking
- A good seal with the fork crimp is non-negotiable
- I learned the hard way that skipping the steam vents leads to explosions
Storage Tips
Once your cherry hand pies are completely cool, you can store them in an airtight container at room temperature for up to two days for the best texture. For longer storage, pop them in the fridge where they’ll keep for about five days. You can also freeze them either before or after baking for up to three months; if frozen unbaked, bake straight from frozen, adding a few extra minutes. To refresh baked pies, warm them in a 350°F oven for about ten minutes to bring back that just-baked flakiness.
Ingredient Substitutions
If you need a dairy-free version, a high-quality vegan butter substitute works perfectly in the crust. For an egg-free wash, simply brush the tops with a bit of milk, cream, or even a plant-based milk before sprinkling the sugar. A 1-to-1 gluten-free flour blend can replace the all-purpose flour, though you might need to handle the dough a bit more gently when rolling. While almond extract is classic with cherries, a half teaspoon of vanilla extract makes a fine alternative if that’s what you have on hand.
Serving Suggestions
I love serving these cherry hand pies slightly warm with a generous scoop of vanilla ice cream melting over the top – the contrast of hot and cold is just incredible. For a simpler finish, a light dusting of powdered sugar right before serving looks beautiful and adds a touch of extra sweetness. They’re also fantastic all on their own with a cup of coffee for breakfast or packed into a lunchbox for a special afternoon treat that feels like a personal celebration.
Cultural Context
The humble hand pie has deep roots in American food history, originating as a practical, portable meal for workers, miners, and travelers who needed a self-contained, easy-to-eat dish. Sweet fruit-filled versions like this cherry hand pie evolved from that necessity, becoming a staple at county fairs, bake sales, and summer picnics across the country. They capture a nostalgic, homemade aesthetic that feels both rustic and deeply comforting, celebrating seasonal fruit at its peak. It’s a dessert that truly embodies the spirit of making something wonderful from simple, straightforward ingredients.
Pro Tips
- Use a pastry cutter for easier dough mixing and flakier results
- Thaw and drain frozen cherries well to keep your filling thick
- Chilling the dough is not a suggestion – it’s a requirement
- That coarse sugar topping adds texture you won’t want to skip
- I always make a double batch because they disappear so fast
Frequently Asked Questions
You can use either fresh or frozen pitted cherries. Fresh sweet cherries are wonderful in season, while frozen cherries offer great convenience and a consistent sweet-tart flavor year-round. Just make sure to thaw and drain frozen cherries well before using to avoid a soggy crust.
Absolutely! You can assemble the pies, freeze them on a baking sheet, and then bake directly from frozen. Just add a few extra minutes to the cook time. Baked pies also store well in an airtight container for 2-3 days at room temperature or can be frozen for longer storage.
The almond extract is optional but adds a wonderful depth of flavor. If you don’t have it or prefer not to use it, you can substitute it with an extra 1/2 teaspoon of vanilla extract or a teaspoon of lemon zest for a brighter citrus note that complements the cherries beautifully.
The cherry hand pies are perfectly baked when the crust is a deep, golden brown all over, which typically takes about 25 minutes. The filling will be bubbling slightly at the seams. The coarse sugar on top will be sparkling and have a slight crunch.
These pies are fantastic all on their own! For an extra indulgent treat, serve them warm with a scoop of vanilla ice cream or a dollop of freshly whipped cream. A dusting of powdered sugar just before serving also adds a lovely, simple finish.