

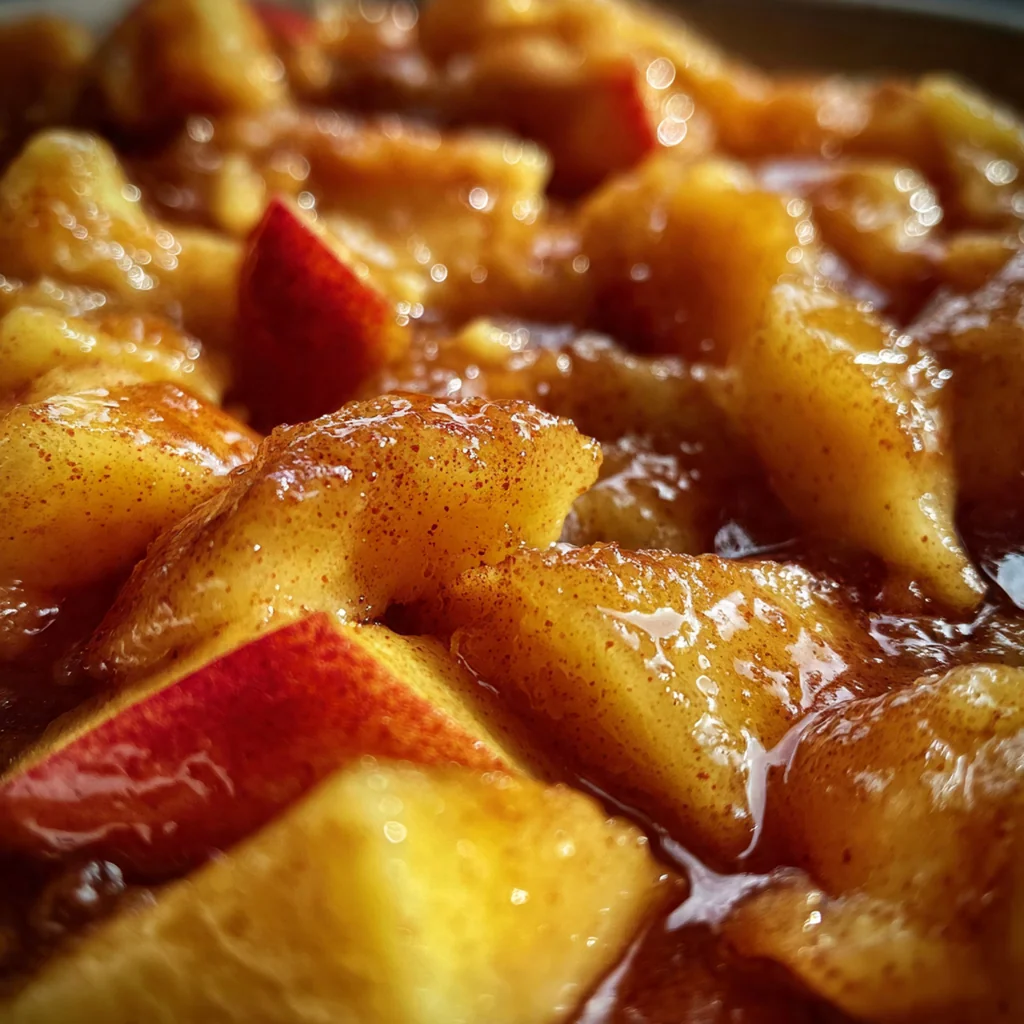
Perfect homemade apple pie filling captures the very essence of fall baking in every spoonful. This classic American recipe uses fresh apples and warm spices simmered into a glossy, thick sauce that sets the standard for any dessert. I find that mastering this base unlocks countless sweet creations, from pies to crisps and beyond. It’s a staple you’ll turn to year after year for its unbeatable flavor and versatility.
Why You'll Love This Recipe
- You get fresh, bright flavor that crushes any canned version
- The cozy sweetness balances perfectly with warm autumn spices
- It’s incredibly versatile for pies, crisps, or even your morning yogurt
- Freezer-friendly for effortless holiday baking prep
- My friends always ask for a jar when I make a batch
Ingredients You’ll Need
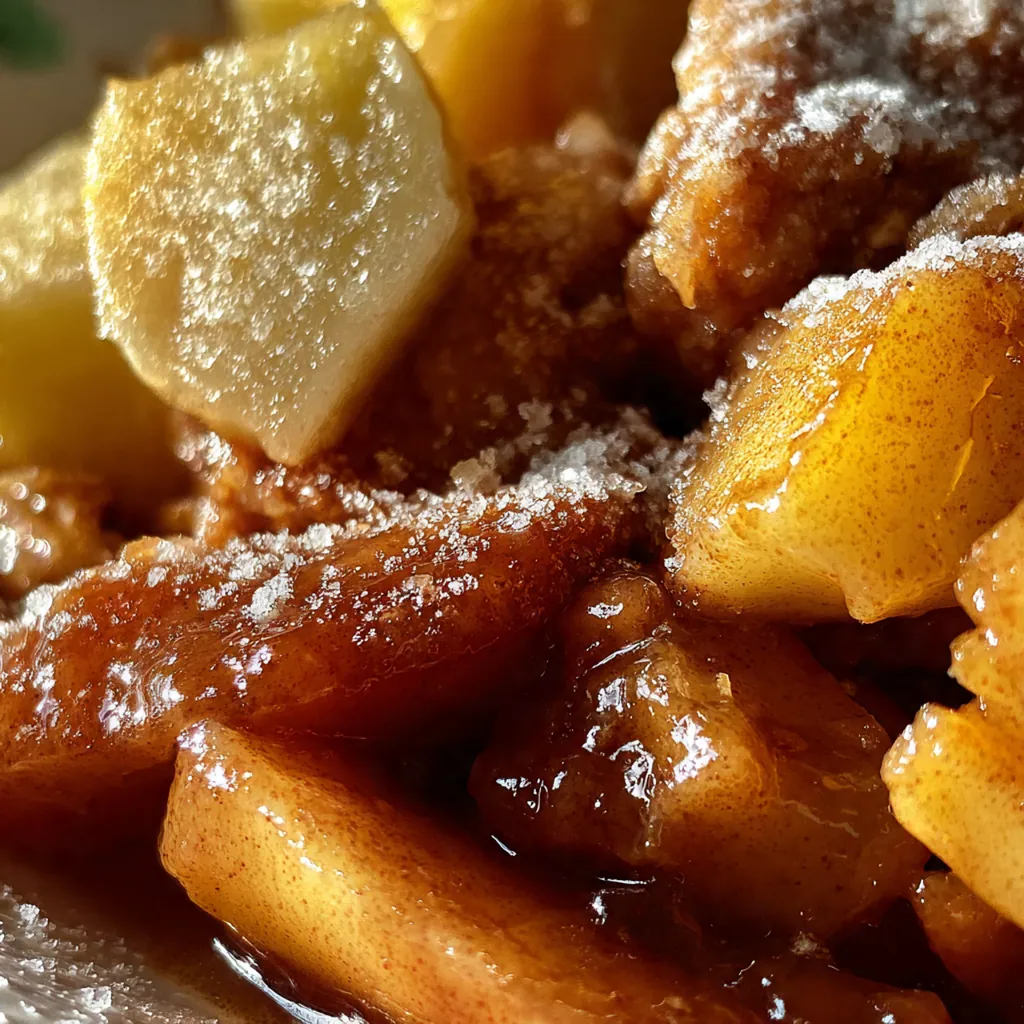
- Peeled, cored, and sliced apples: A mix of tart and sweet varieties gives the best flavor and texture, Granny Smith holds shape while Honeycrisp adds natural sweetness and juiciness.
- Fresh lemon juice: Its bright acidity prevents the apples from browning and adds a subtle tang that keeps the filling from tasting too flat.
- Granulated sugar: Simple white sugar provides a clean sweetness that allows the apple and spice flavors to shine through without overpowering them.
- Packed light brown sugar: This brings warm molasses notes and a slight caramel undertone that deepens the overall flavor of your apple pie filling.
- All-purpose flour: It’s the classic thickener, creating that rich, saucy texture that clings beautifully to each apple slice as it simmers.
- Ground cinnamon: The essential warm spice that gives apple pie its signature cozy character, use a fresh jar for the best aroma.
- Ground nutmeg: A little bit goes a long way, adding a sweet, nutty depth that complements the cinnamon perfectly.
- Ground allspice: Think of this as a flavor booster, it has hints of clove, nutmeg, and cinnamon all in one.
- Salt: This is your secret weapon, as it balances all the sugars and makes the spices taste more vibrant.
- Apple cider: Using this instead of water infuses the entire filling with a concentrated apple flavor that’s just magic.
- Unsalted butter: Stirred in at the end, it creates a glossy, rich finish and a luxurious mouthfeel you can’t skip.
- Pure vanilla extract: This enhances all the other flavors and adds a subtle background note of sweet, floral warmth.
How to Make It
Prepare Your Apples:
Peel, core, and slice your apples into even slices about a quarter-inch thick. Immediately toss them in a large bowl with the fresh lemon juice, this quick step keeps them looking fresh and prevents that unappealing brown color while you work on the rest.
Mix the Dry Ingredients:
In a separate medium bowl, whisk together both sugars, the flour, cinnamon, nutmeg, allspice, and salt. Whisking ensures there are no clumps of flour or spice, which is key for a smooth, lump-free apple pie filling sauce later on.
Simmer the Apples:
Place the lemon-coated apple slices and the apple cider into a large, heavy-bottomed saucepan or Dutch oven. Turn the heat to medium and bring it all to a gentle simmer, cooking for about five minutes with an occasional stir until the apples just start to soften at the edges.
Add the Sugar-Spice Mixture:
This is where the magic happens. Gradually sprinkle the dry mixture over the simmering apples while stirring constantly. Keep cooking for five to seven more minutes, stirring often, until the sauce thickens nicely and coats the back of your spoon and the apples are tender but not falling apart.
Finish with Butter and Vanilla:
Take the saucepan off the heat completely. Now stir in the butter and vanilla extract until the butter melts fully into the glossy sauce, this final touch brings everything together with a rich, rounded flavor.
Cool Completely:
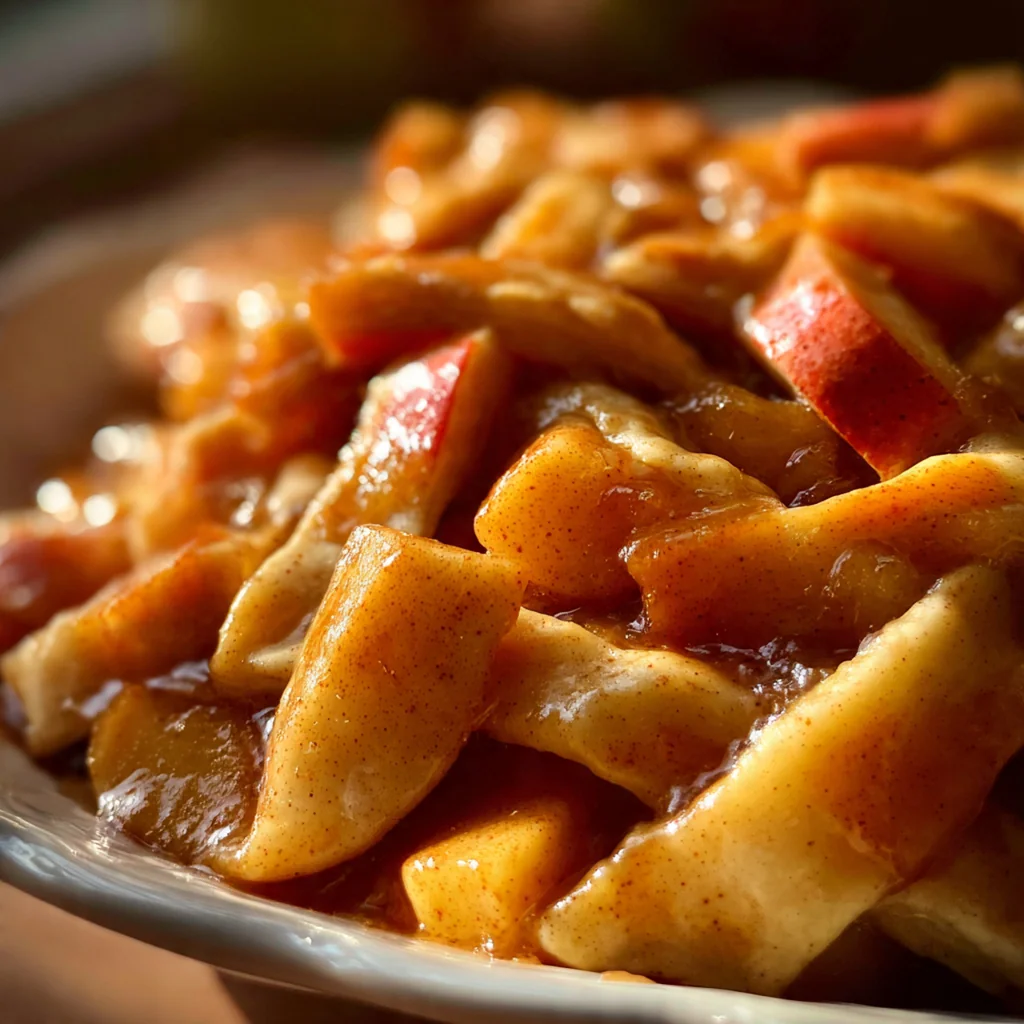
Transfer your homemade apple pie filling to a bowl or container to cool at room temperature. It will continue to thicken significantly as it cools, which is exactly what you want for a pie that holds its shape when sliced.
You Must Know
- A mix of apple types is non-negotiable for the best texture
- Let the filling cool completely before using it in a pie crust
- Don’t overcook the apples in the saucepan
- I learned the hard way that skipping the cool-down leads to a soggy bottom
Storage Tips
Once your apple pie filling has cooled to room temperature, store it in an airtight container in the refrigerator where it will stay perfect for up to five days. For long-term storage, spoon it into freezer-safe bags or containers, press out excess air, and freeze for up to three months. Thaw it overnight in the fridge before using it in your baking, and give it a gentle stir to bring it back to its glorious state. I always freeze a few cups to have a head start on holiday pies.
Ingredient Substitutions
If you’re out of apple cider, unsweetened apple juice works just fine, or you can even use water in a pinch though the flavor won’t be as robust. For a gluten-free apple pie filling, swap the all-purpose flour with an equal amount of a good gluten-free blend or use the cornstarch slurry mentioned in the pro tips. You can use vegan butter or even coconut oil instead of dairy butter for a dairy-free version, and the spices are completely flexible — try adding a pinch of cardamom or ginger if you love them. The apple varieties are your playground too, just aim for that balance of firm and soft, like mixing Braeburn with Fuji.
Serving Suggestions
Of course, this is the star of a classic double-crust pie, but don’t stop there. I love spooning the warm filling over a scoop of vanilla bean ice cream for an instant dessert, or layering it under a crunchy oat topping for a quick crisp. It’s fantastic folded into crepes or dolloped onto Dutch baby pancakes for a special weekend breakfast, or even stirred into your morning oatmeal or Greek yogurt parfait for a treat that feels indulgent but starts your day right.
Cultural Context
Apple pie is deeply woven into the fabric of American food culture, symbolizing home, comfort, and tradition. While its roots trace back to European pastry traditions, the version we know today—with its spiced, saucy filling—truly became an American icon. The act of making apple pie filling from scratch connects you to generations of home bakers who valued the harvest and turned simple fruits into celebrated desserts. It’s less about perfection and more about the heartwarming process and the incredible aroma that fills your kitchen.
Pro Tips
- Taste your apples first to gauge their sweetness and adjust sugar slightly
- For a clearer, glossy sauce, use the cornstarch slurry instead of flour
- Always use a heavy-bottomed pot to prevent scorching the sugars
- Cooling is not a suggestion, it’s a crucial step for thickness
- My secret is a tiny extra pinch of salt to make flavors pop
Frequently Asked Questions
A mix of tart Granny Smith and sweet Honeycrisp apples works best, as listed in the ingredients. This combination provides a balanced flavor and holds its shape beautifully during simmering, preventing a mushy texture in your homemade apple pie filling.
Absolutely! This apple pie filling stores perfectly. Let it cool completely, then transfer it to an airtight container. It will keep in the refrigerator for up to 5 days, or you can freeze it for several months, making dessert prep a breeze.
If you don’t have apple cider, you can use an equal amount of high-quality apple juice. For a slightly deeper flavor, you can also use 3/4 cup of water or juice plus 2 tablespoons of unsweetened applesauce to maintain the right consistency in your apple pie filling.
Your apple pie filling is ready when the apples are fork-tender and the sauce has thickened to a glossy, coating consistency. This typically takes about 12-15 minutes of gentle simmering. It will continue to thicken slightly as it cools.
Beyond classic pie, this versatile apple pie filling is delicious spooned warm over vanilla ice cream, swirled into oatmeal or yogurt, layered in a crisp or crumble, or used as a filling for hand pies and turnovers. It’s a true American dessert staple.