

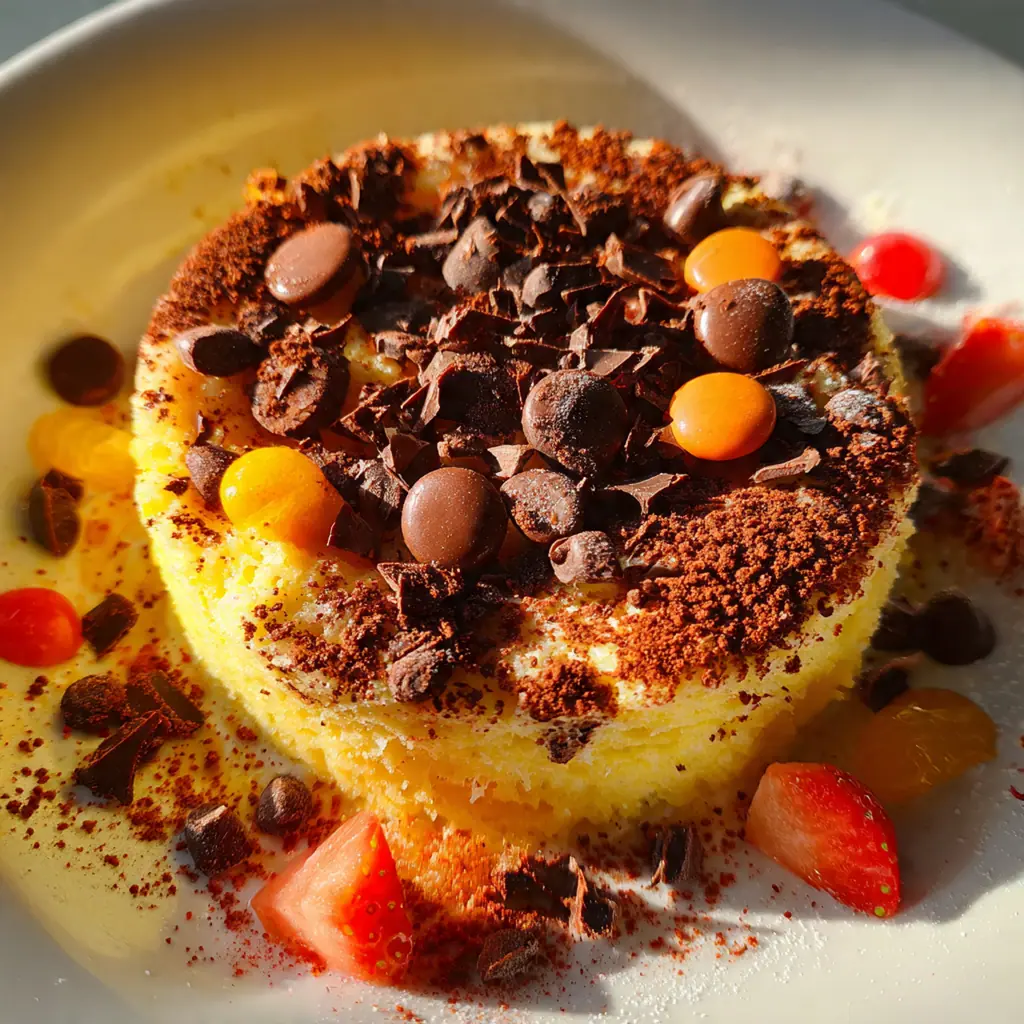
There’s something undeniably magical about a warm mug cake appearing in minutes, and this chocolate lover’s version is the ultimate fix for those sudden sweet cravings. This American classic transforms basic pantry staples into a rich, single-serving dessert that feels homemade. It’s a recipe born from the need for instant comfort, and it’s become my secret weapon for a quick treat. You’ll love how the microwave makes it accessible any time of year, no oven required.
Why You'll Love This Recipe
- From craving to spoon in under five minutes total
- Uses basic pantry ingredients you probably already have on hand
- Perfect for portion control with no leftover cake to tempt you
- Incredibly easy to customize with your favorite add-ins
- I make this more than I’d like to admit
Ingredients You’ll Need
- All-purpose flour: the foundation of your cake structure, it provides the perfect crumb, just make sure to spoon and level it for accuracy.
- Granulated sugar: sweetens the cake and helps create a tender texture, regular white sugar is all you need.
- Unsweetened cocoa powder: this is where the deep chocolate flavor comes from, use a natural cocoa for the best classic taste.
- Baking powder: the tiny leavening agent that gives your mug cake its lift and fluffy texture right in the microwave.
- Fine salt: a pinch balances all the sweetness and enhances the chocolate flavor, don’t skip it.
- Whole milk: adds moisture and richness to the batter, creating that wonderfully soft and tender cake interior.
- Vegetable oil: keeps the crumb incredibly moist and helps blend the ingredients smoothly into a batter.
- Pure vanilla extract: rounds out the chocolate flavor with a warm, aromatic note, pure extract makes a difference.
- Semi-sweet chocolate chips: they create melty pockets of extra chocolate throughout, I prefer the classic semi-sweet for balance.
How to Make It
Select Your Mug:
Grab a microwave-safe mug that holds at least 12 ounces, giving the cake plenty of room to rise without any messy overflow. I always reach for one with straight sides rather than a curved design because it helps the cake cook more evenly from top to bottom.
Combine the Dry Ingredients:
Add the flour, sugar, cocoa powder, baking powder, and salt right into your mug. Whisk them together with a fork until they’re completely combined and you don’t see any lumps, which ensures every bite is perfectly flavored.
Add the Wet Ingredients:
Pour in the milk, vegetable oil, and vanilla extract right on top of your dry mix. Now, stir everything vigorously with your fork until you have a smooth, thick batter with no dry pockets of flour hiding at the bottom.
Fold in Chocolate Chips:
Sprinkle your chocolate chips over the batter and gently fold them in with the fork just until they’re distributed. This step guarantees little bursts of melted chocolate in every single spoonful.
Microwave to Perfection:
Place the mug in the center of your microwave and cook on full power for 60 seconds. The surface should look set but still slightly moist, which is exactly what you want.
Check for Doneness:
If the very center still looks overly wet, you can microwave it in additional 10-second bursts. Be careful not to overdo it, as overcooking is the main reason for a dry mug cake, and a slightly gooey center is better.
Cool and Set:
Using an oven mitt, carefully remove the hot mug and let it cool on your counter for a minute or two. This allows the cake to finish setting from the residual heat and cool to a temperature safe for eating.
Add Toppings and Enjoy:
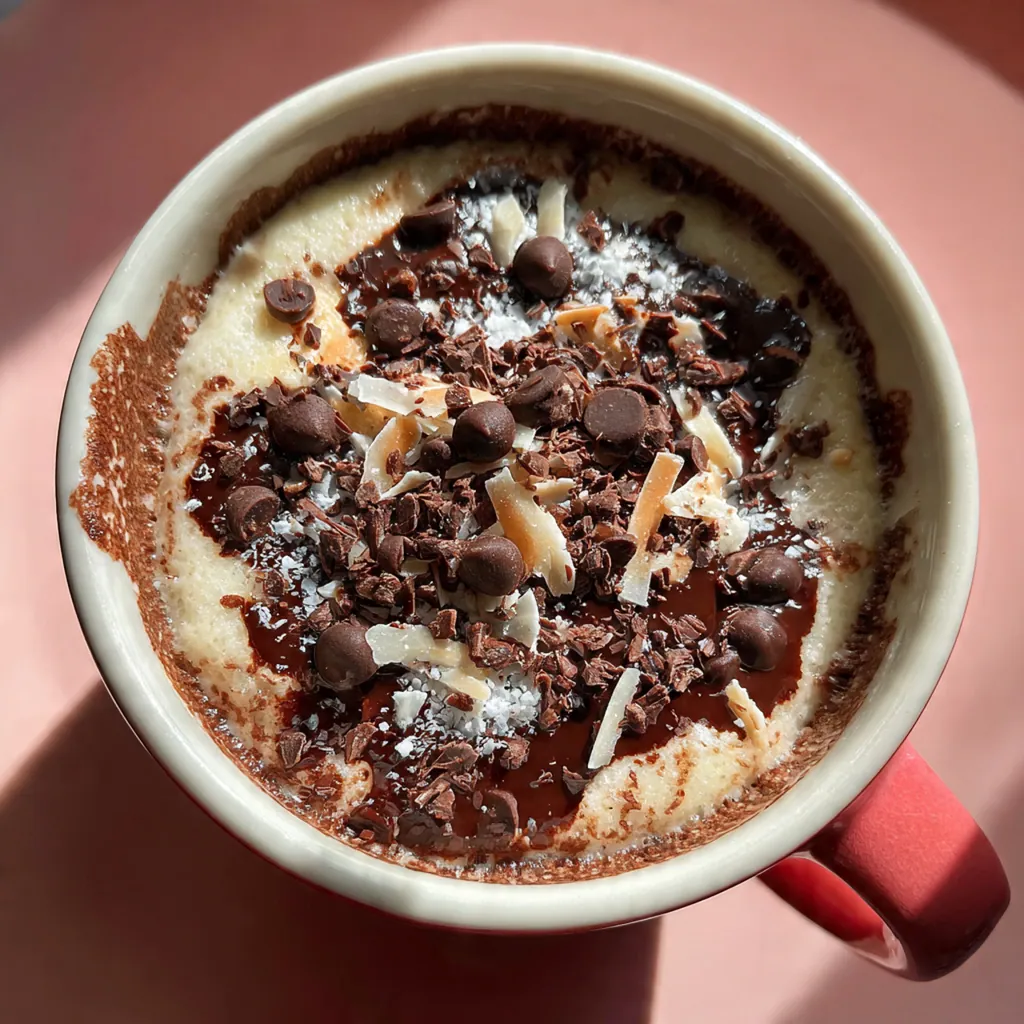
This is the best part. Add your favorite toppings like a scoop of ice cream or a dollop of whipped cream straight into the mug. Grab a spoon and enjoy it immediately while it’s wonderfully warm.
You Must Know
- A straight-sided mug cooks more evenly than a curved one
- Don’t overmix the batter after adding the wet ingredients
- Microwave wattages vary so always start with less time
- The cake continues to set as it cools in the mug
- Trust me, the minute of waiting is worth it
Storage Tips
Let’s be real, a mug cake is truly at its peak enjoyed straight from the microwave. If you somehow have leftovers, cover the mug tightly with plastic wrap and refrigerate it for up to a day. You can reheat it for 15 to 20 seconds to take the chill off, though expect the texture to become a bit denser and more fudgy, which isn’t a bad thing in my book. It’s a rare treat that’s designed for immediate satisfaction, so plan to make it and eat it in one glorious sitting.
Ingredient Substitutions
If you need a gluten-free version, a one-to-one gluten-free all-purpose flour blend works perfectly as a swap for the regular flour. For dairy-free, simply use your favorite unsweetened almond or oat milk instead of whole milk and be sure to grab dairy-free chocolate chips. You can swap the vegetable oil for another neutral oil like canola or even melted coconut oil if you enjoy that subtle flavor. In a pinch, a dash of almond extract can stand in for the vanilla for a different aromatic twist.
Serving Suggestions
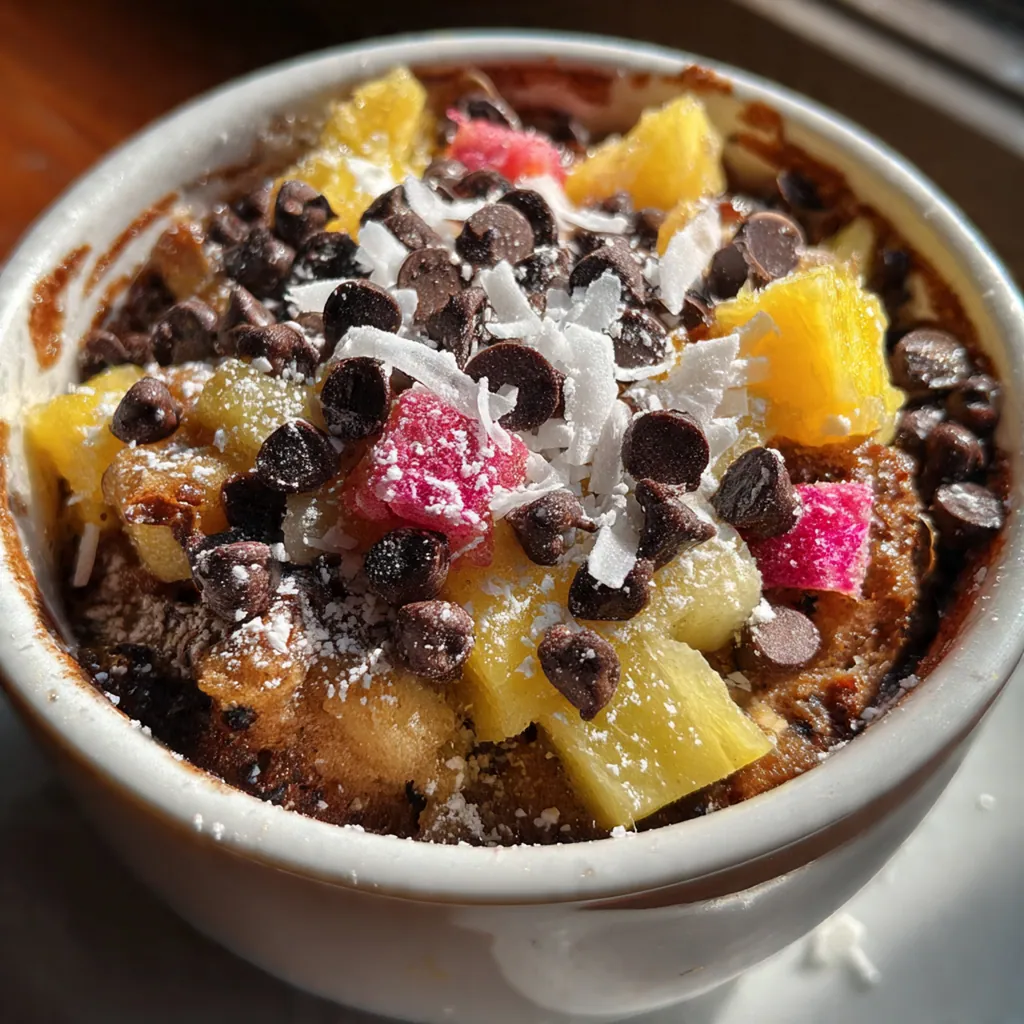
This cake is perfect all on its own, but I love turning it into a mini sundae by topping it with a small scoop of vanilla ice cream that melts into the warm chocolate. A cold glass of milk or a cup of coffee is the ideal companion to cut through the richness. For a slightly fancier feel, add a dusting of powdered sugar and a few fresh raspberries on the side, which adds a lovely tart contrast to the deep chocolate flavor.
Cultural Context
The microwave mug cake is a distinctly modern American kitchen hack, a product of our desire for speed and individual portions. It evolved from the classic depression-era ‘wacky cake’ made without eggs or dairy, transformed by the convenience of the microwave oven that became a household staple in the 80s and 90s. This recipe represents the ultimate in instant gratification cooking, a personal dessert that bypasses all the waiting and cleanup of traditional baking. It’s a treat that fits perfectly into today’s lifestyle, proving you don’t need fancy equipment or hours to create a little moment of homemade comfort.
Pro Tips
- Whisk your dry ingredients thoroughly to avoid bitter clumps of baking powder
- Let the mug sit for a full minute after microwaving for the perfect texture
- For a cafe-style finish, sprinkle a few extra chocolate chips on top pre-microwave
- I never skip the tiny pinch of salt, it’s a game changer
Frequently Asked Questions
For the richest chocolate flavor in your mug cake, use unsweetened natural cocoa powder. It blends perfectly with the sugar and baking powder to give you that classic, moist cake texture in just minutes.
This mug cake is best mixed and cooked immediately for optimal texture. However, you can pre-measure the dry ingredients into a mug ahead of time. When ready, just add the wet ingredients and microwave for a fresh, warm dessert in seconds.
If you don’t have vegetable oil, you can use melted butter or even a neutral-tasting oil like canola for your mug cake. The swap won’t affect the cooking time and will still give you a deliciously moist result.
Your mug cake is ready when the top looks set and dry to the touch, which takes about 1.5 to 2 minutes. It will continue to cook slightly after you take it out, so it’s better to slightly undercook it than to overdo it for the best texture.
This classic American mug cake is delicious on its own, but it’s even better with a scoop of vanilla ice cream or a dollop of whipped cream. For an extra treat, sprinkle a few more chocolate chips on top while it’s still warm.