

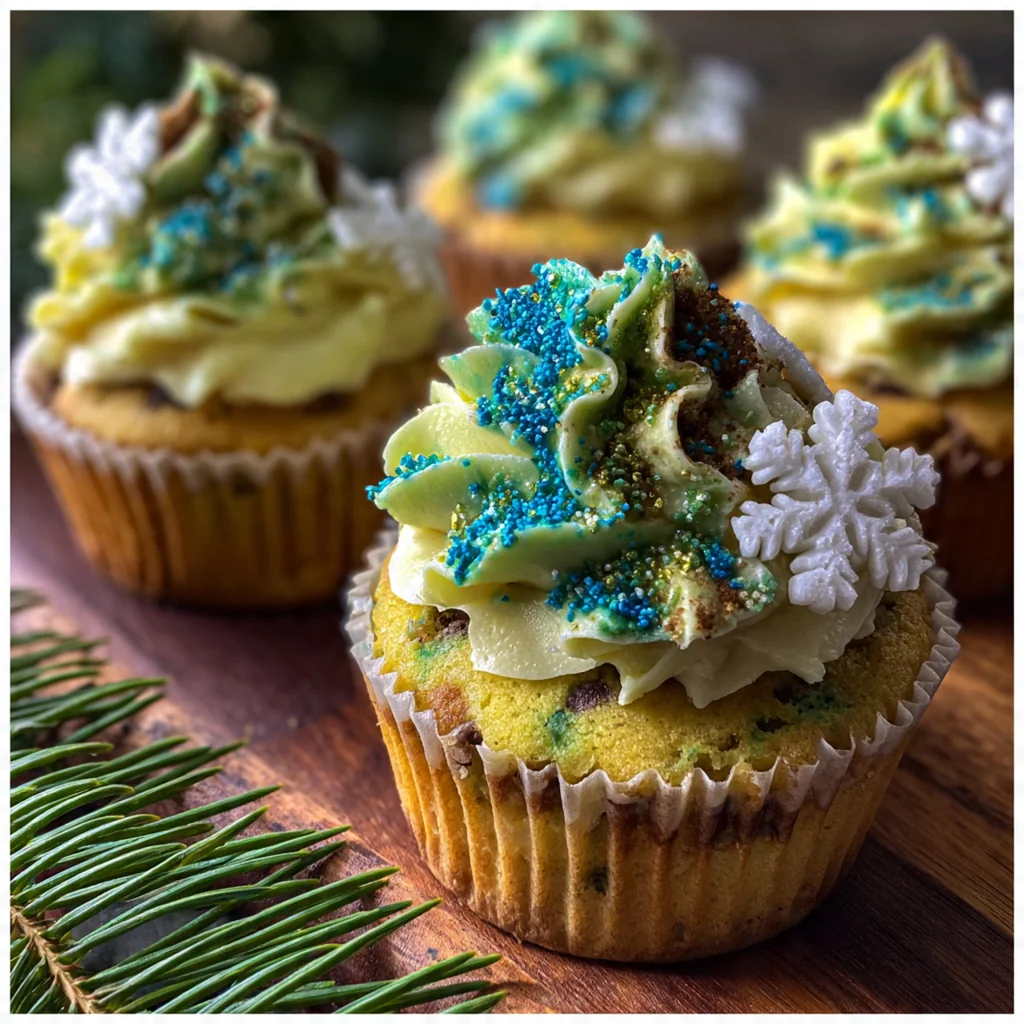
Christmas Tree Cupcakes have been a festive staple in my holiday baking for years, bringing joy to every party. These adorable treats feature fluffy vanilla cupcakes topped with green buttercream piped into whimsical tree shapes, perfect for any Christmas gathering. As an American holiday classic, they’re surprisingly easy to decorate and always a crowd-pleaser. I make them every December because they capture the spirit of the season in every bite.
Why You'll Love This Recipe
- Festive presentation that brings instant holiday cheer
- Soft vanilla cupcakes with rich, creamy buttercream
- A fun decorating project for the whole family
- I love how customizable they are with sprinkles
Ingredients You’ll Need
- All-purpose flour: provides structure for light and fluffy cupcakes use unbleached for the best texture
- Baking powder: gives the cupcakes their rise and airy crumb make sure it’s fresh for maximum lift
- Salt: balances the sweetness and enhances all the flavors a pinch goes a long way
- Unsalted butter (for cupcakes): creates tender cupcakes when creamed with sugar always use softened butter
- Granulated sugar: sweetens and helps create a light crumb when creamed with butter
- Eggs: bind the batter and add moisture room temperature eggs incorporate better
- Vanilla extract (for cupcakes): adds warm, aromatic flavor pure extract makes all the difference
- Whole milk: ensures a moist and tender cupcake batter full-fat milk gives the best results
- Unsalted butter (for frosting): forms the base of rich, creamy buttercream that pipes beautifully
- Powdered sugar: creates smooth, sweet buttercream that holds its shape sift it to avoid lumps
- Heavy cream: adjusts frosting consistency and adds richness fresh cream makes it extra creamy
- Vanilla extract (for frosting): enhances the buttercream flavor with its sweet, fragrant notes
- Green gel food coloring: gives vibrant color without thinning the frosting a little goes a long way
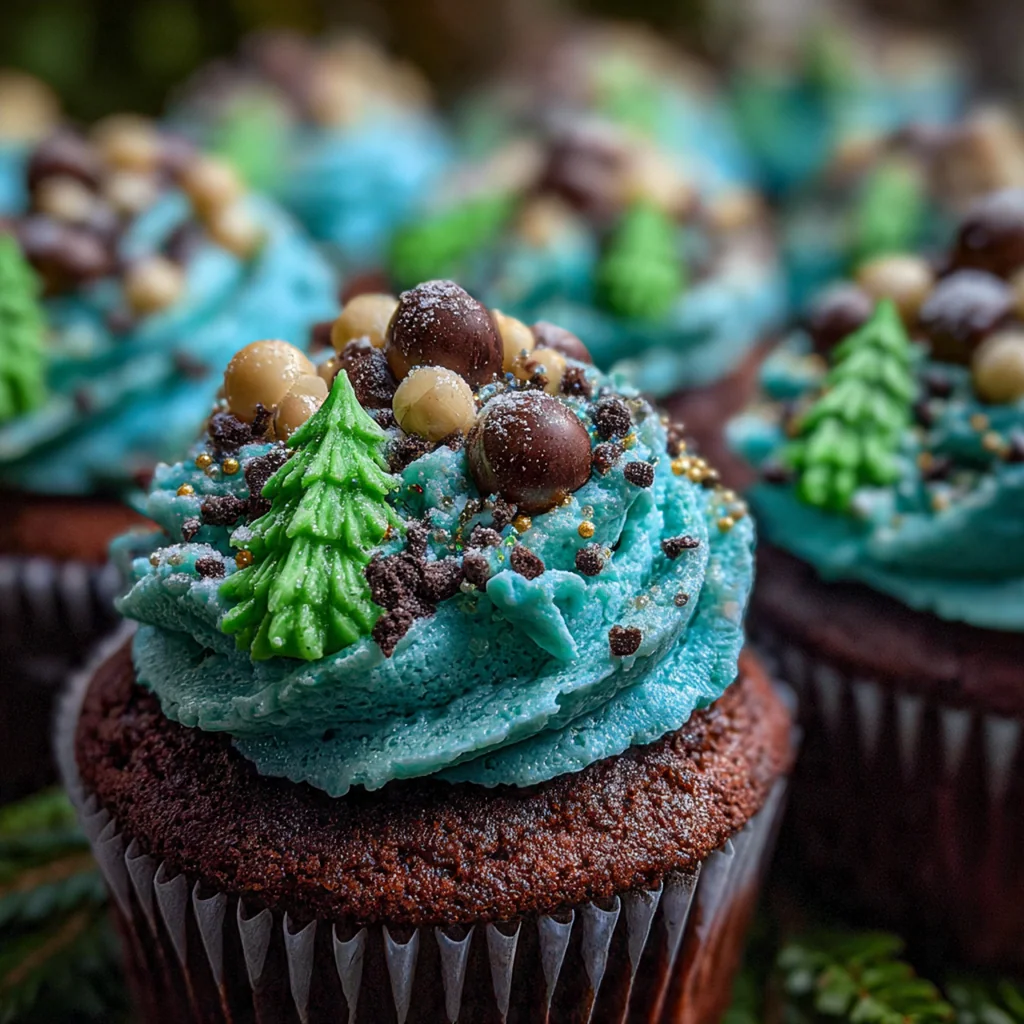
- Star-shaped sprinkles: perfect for tree toppers and festive flair look for metallic ones for sparkle
- Assorted round sprinkles: act as colorful ornaments on your trees mix colors for a merry look
- Edible glitter or sanding sugar: adds a magical snowy shimmer sprinkle lightly for a winter wonderland effect
How to Make It
Preheat Oven and Prepare Pan:
Start by preheating your oven to 350°F and lining a 12-cup muffin tin with festive cupcake liners. I always use holiday-themed liners for extra cheer, and preheating ensures the cupcakes bake evenly from the start.
Whisk Dry Ingredients:
In a medium bowl, whisk together the all-purpose flour, baking powder, and salt. Whisking aerates the flour and evenly distributes the leavening agent, which is key for fluffy cupcakes every time.
Cream Butter and Sugar:
In a large bowl, use an electric mixer on medium speed to cream the softened butter and granulated sugar. Cream for about three minutes until the mixture is pale and fluffy; this step incorporates air for a light crumb.
Incorporate Eggs and Vanilla:
Beat in the eggs one at a time, ensuring each is fully incorporated before adding the next. Then mix in the vanilla extract; using room temperature eggs helps them blend smoothly without curdling the batter.
Alternate Adding Dry and Wet Ingredients:
With the mixer on low speed, add the flour mixture and milk alternately, beginning and ending with the flour. Mix until just combined; overmixing can lead to dense cupcakes, so stop as soon as no dry streaks remain.
Fill and Bake:
Divide the batter evenly among the prepared liners, filling each about two-thirds full. Bake for 18 to 22 minutes until a toothpick inserted into the center comes out clean. Let them cool in the pan for five minutes, then transfer to a wire rack to cool completely.
Make the Green Buttercream:
In a large bowl, beat the softened butter until creamy. Gradually add the powdered sugar, one cup at a time, beating well after each addition. Add vanilla extract and heavy cream, then beat on high until light and fluffy. Mix in green gel food coloring until you achieve a consistent, vibrant tree green.
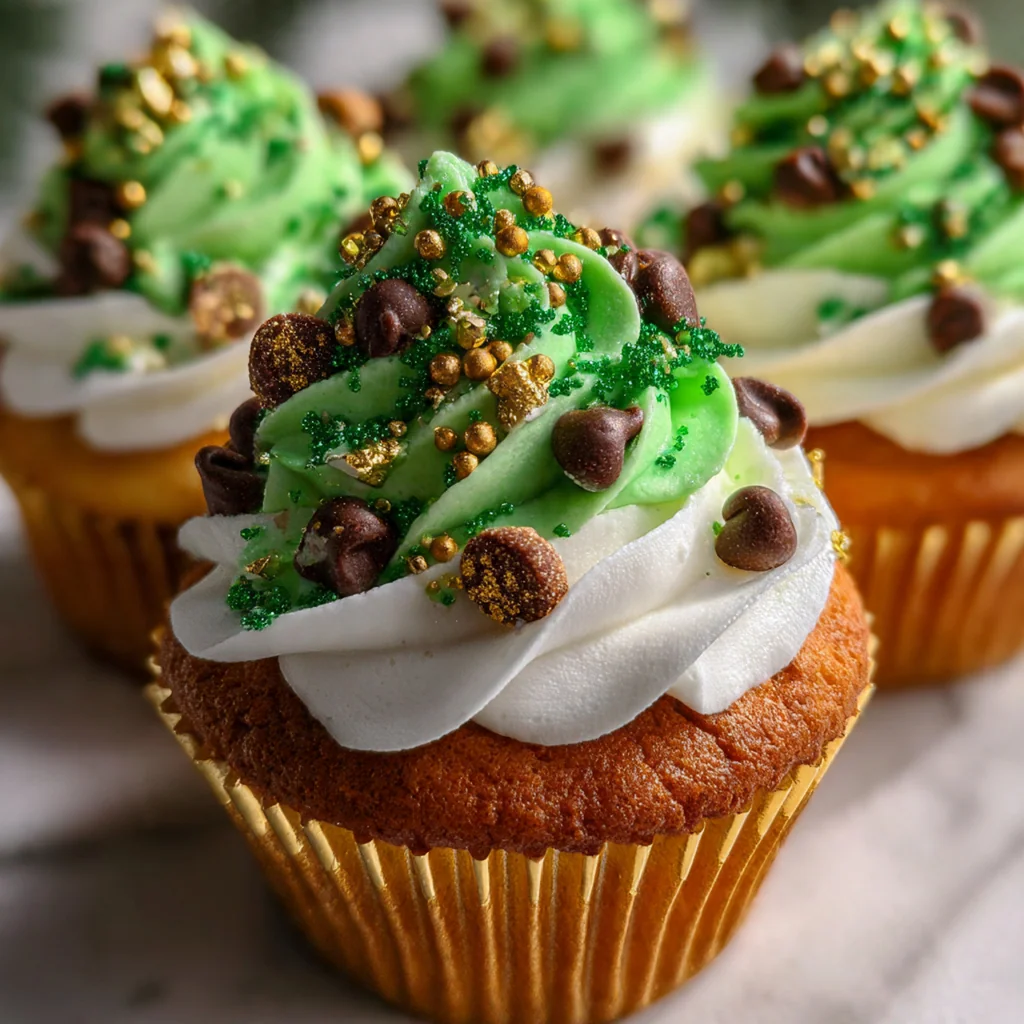
Pipe the Tree Shapes:
Fit a piping bag with a large open star tip, like a Wilton 1M. Fill the bag with green buttercream, then pipe onto each cooled cupcake by starting at the outer edge and spiraling inward and upward to form a cone-shaped tree.
Decorate Immediately:
As soon as you pipe each tree, add a star sprinkle to the top and assorted round sprinkles as ornaments. The fresh frosting acts like glue, so the decorations stick perfectly for a merry presentation.
You Must Know
- Gel food coloring gives rich color without changing consistency
- Cool cupcakes fully to keep buttercream from sliding off
- A chilled piping bag makes for crisp tree shapes
- My family loves picking their own ornament sprinkles
Storage Tips
Store your decorated Christmas Tree Cupcakes in an airtight container at room temperature for up to two days, which is ideal for holiday gatherings. For longer storage, pop them in the refrigerator for up to five days, but make sure to bring them back to room temperature before serving so the buttercream is soft and creamy again. I’ve found that if you stack them, use parchment paper between layers to protect the festive decorations. They rarely last more than a day in my house, but they stay fresh and delicious.
Ingredient Substitutions
For gluten-free Christmas Tree Cupcakes, simply substitute the all-purpose flour with a reliable 1:1 gluten-free blend – I recommend one with xanthan gum for structure. Dairy-free? Use plant-based butter and milk; almond milk works, but whole milk alternatives like soy or oat give the best texture. If you’re avoiding eggs, a flax egg or commercial egg replacer can do the trick, though the cupcakes might be slightly denser. Don’t worry, the festive spirit stays intact with these easy swaps.
Serving Suggestions
Arrange your Christmas Tree Cupcakes on a tiered stand or festive platter to create a dazzling dessert display at any holiday gathering. They’re perfect alongside hot cocoa with whipped cream, spiced eggnog, or a robust coffee to cut the sweetness. I often include them on cookie exchange tables or as part of a dessert buffet with gingerbread and fudge. For a special touch, place them at each place setting with a name tag – they double as both treat and decoration.
Cultural Context
Christmas Tree Cupcakes are a beloved part of American holiday baking tradition, where festive desserts take center stage during December celebrations. They draw from the classic American cupcake, which gained popularity in the 20th century, and the tradition of decorating Christmas cookies and cakes. The whimsical tree shape taps into the joy of Christmas tree decorating, a ritual in many homes. Over time, these cupcakes have become a staple at school parties, office gatherings, and family feasts, symbolizing the creative and joyful spirit of the season. They reflect how American bakers love to combine simplicity with spectacular presentation for holiday cheer.
Pro Tips
- Gel food coloring gives deep color without watering down the buttercream
- Cool cupcakes fully to keep the tree shapes from sliding
- A chilled piping bag makes piping those spirals a breeze
- I always have extra sprinkles on hand for last-minute touches
Frequently Asked Questions
For the vibrant green trees, gel food coloring is highly recommended over liquid. Gel coloring provides intense, rich color without altering the consistency of your buttercream frosting. Since you only need about 1/4 teaspoon, it won’t make the frosting runny, ensuring your piped tree shapes hold perfectly.
Yes, you can! The unfrosted vanilla cupcakes can be baked a day ahead, cooled completely, and stored in an airtight container at room temperature. Prepare the green buttercream frosting and store it separately in the fridge, then let it come to room temperature and re-whip before piping your trees on the day you plan to serve them.
If you don’t have heavy cream, you can use whole milk or half-and-half to achieve the right frosting consistency. Start with 1 tablespoon and add more sparingly, as these alternatives are thinner than heavy cream. The goal is a thick, pipeable buttercream that will hold the Christmas tree shape.
The cupcakes are done when a toothpick inserted into the center comes out clean or with a few moist crumbs, which should take about 20 minutes. The tops will be lightly golden and spring back when gently pressed. Avoid overbaking to keep them perfectly fluffy.
These festive cupcakes are a complete dessert on their own! For a classic American holiday spread, pair them with hot cocoa, coffee, or eggnog. They also make a great addition to a cookie platter or as the sweet finale to a Christmas dinner featuring roast turkey or ham.