

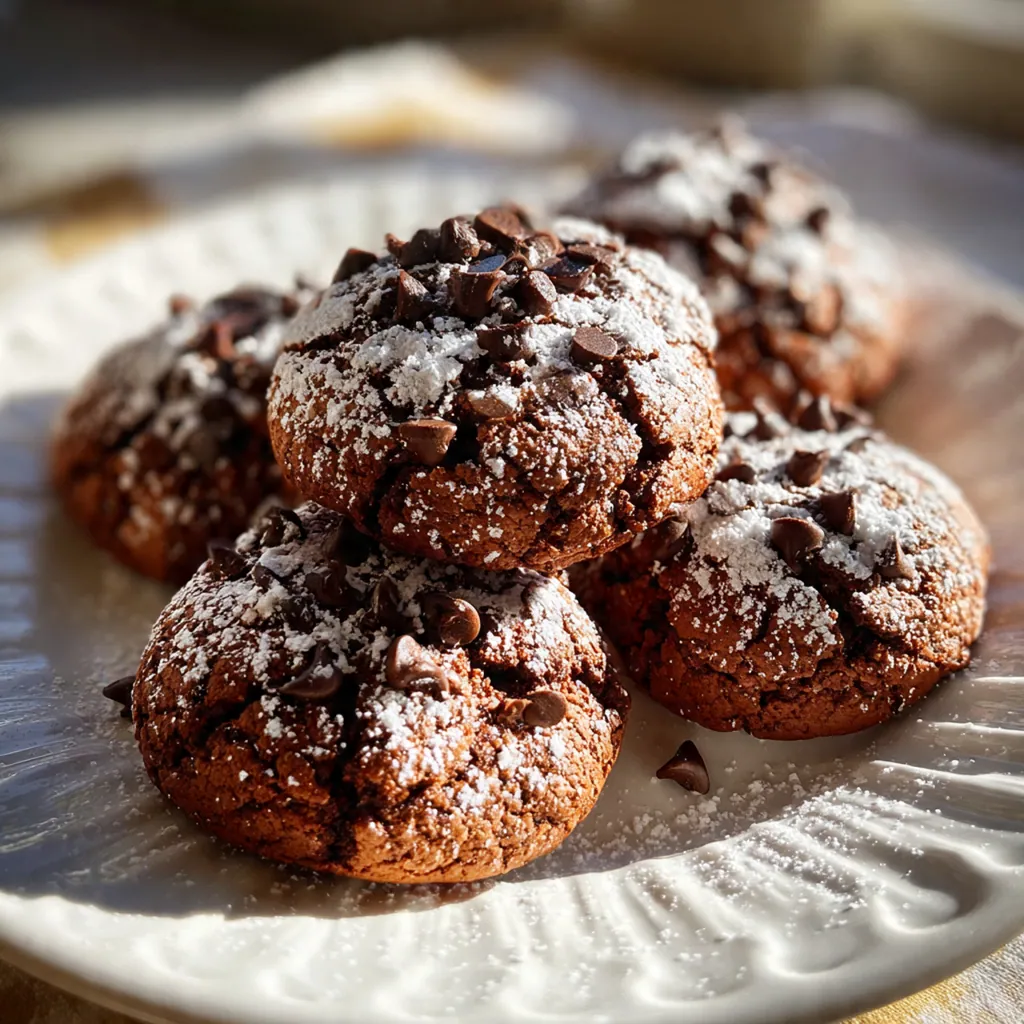
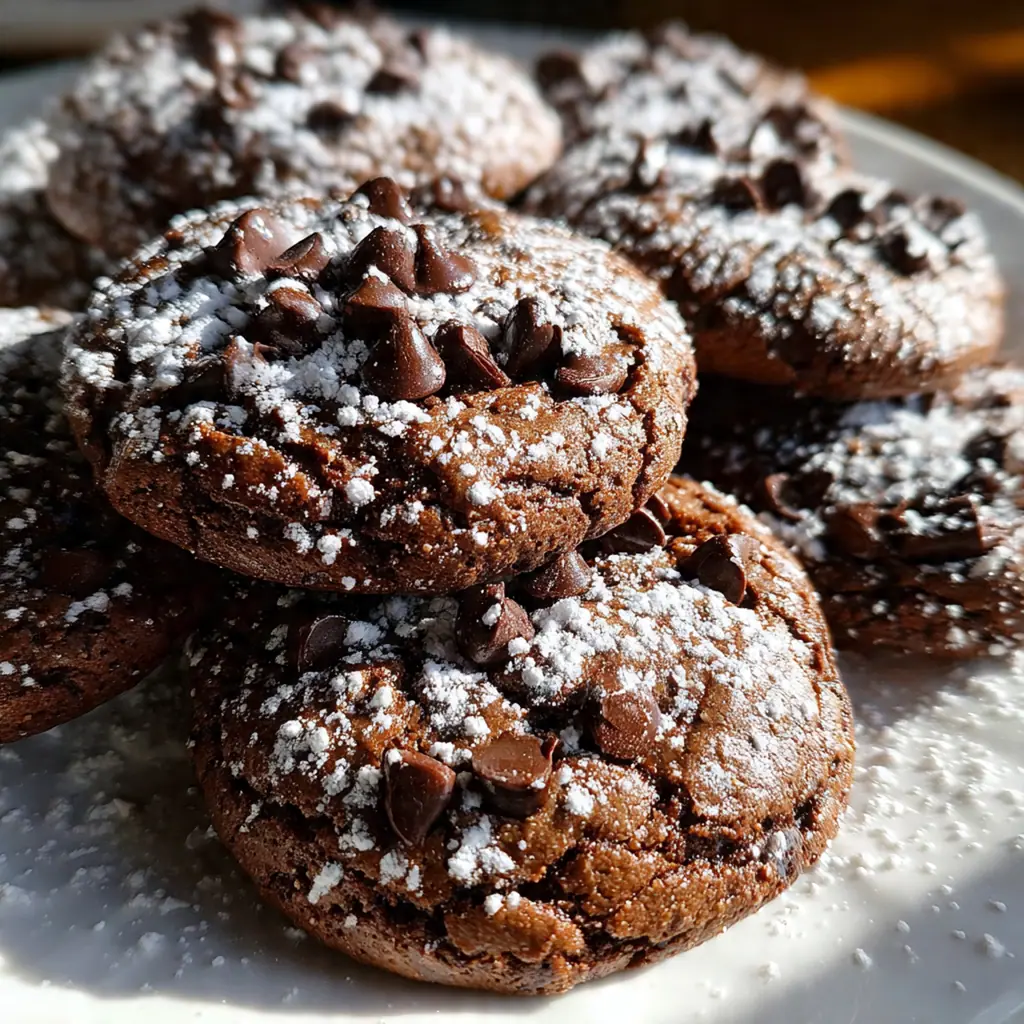
Meltaway Brownie Cookies are a dream come true for anyone who can’t decide between a chewy cookie and a fudgy brownie. They capture the iconic textures of both classic American desserts in a single, incredible bite that vanishes on your tongue. As someone who’s tested countless chocolate recipes, this hybrid treat is my absolute favorite for its simplicity and wow factor. It’s the ultimate crowd-pleaser that comes together from common pantry staples, proving the best things can often be the easiest to make.
Why You'll Love This Recipe
- A single bite gives you both a chewy cookie and a rich fudgy brownie
- They require just one bowl and come together in under 30 minutes
- You can easily customize them with your favorite crunchy or melty mix-ins
- That authentic chocolate flavor and melt-in-your-mouth texture is pure magic
- My friends beg me for the recipe every single time
Ingredients You’ll Need
- Unsalted butter: Using unsalted gives you total control over the saltiness of your final Meltaway Brownie Cookies. Its rich fat content creates the tender, melt-in-your-mouth crumb we’re aiming for.
- Semi-sweet chocolate, chopped: Choose a high-quality chocolate bar and chop it yourself for the cleanest melt and most intense chocolate flavor. Chocolate chips have stabilizers that can affect texture.
- Granulated sugar: This common sugar provides the sweetness and structure that helps your cookies hold their shape as they bake and cool.
- Packed light brown sugar: The molasses in brown sugar brings moisture and a hint of caramel undertone, which complements the cocoa and keeps your cookies wonderfully chewy.
- Large eggs, at room temperature: Room temperature eggs incorporate more easily into the batter without seizing the warm chocolate, leading to a smoother, more uniform dough.
- Pure vanilla extract: It boosts the overall flavor profile and rounds out the chocolate notes. Don’t skimp on the real stuff for the best result.
- All-purpose flour: This is the structural foundation for your cookie. Measure it correctly by spooning and leveling for perfectly textured cookies.
- Unsweetened cocoa powder (Dutch-processed recommended): Dutch-processed cocoa has been alkalized, giving it a darker color and smoother, less acidic flavor that makes your Meltaway Brownie Cookies ultra-rich.
- Baking powder: Just a teaspoon gives these cookies the perfect lift as they bake, so they’re not overly dense but still retain that fudgy quality.
- Salt: It’s the essential ingredient that makes all the chocolate flavor pop. It balances the sweetness beautifully.
- Chopped walnuts or pecans (Optional): A cup of toasted nuts adds a wonderful crunch and a nutty flavor that contrasts the soft chocolate beautifully.
- Semi-sweet chocolate chips (Optional): Folding in extra chocolate chips gives you delightful melty pockets of chocolate in every single cookie.
How to Make It
Preheat and Prepare Your Pans:
Start by heating your oven to 350°F and lining two baking sheets with parchment paper or silicone mats. This isn’t just about easy cleanup; it prevents the bottoms of your sensitive chocolate cookies from burning or sticking.
Melt the Chocolate and Butter:
Combine your chopped chocolate and butter in a large microwave-safe bowl. Microwave in 30-second bursts, stirring well after each, until the mixture is completely smooth. Let it cool for about five minutes so it doesn’t cook the eggs in the next step.
Combine the Sugars and Eggs:
In a separate bowl, whisk together the granulated sugar, brown sugar, eggs, and vanilla. You want to mix until everything is very well combined and the mixture looks a little bit fluffy and paler in color, which helps create a good cookie structure.
Combine the Wet Mixtures:
Pour your slightly cooled chocolate mixture into the sugar and egg mixture. Stir everything gently but thoroughly until you have a smooth, uniform, and gloriously chocolatey liquid base.
Sift and Add the Dry Ingredients:
In a third bowl, sift together the flour, cocoa powder, baking powder, and salt. Sifting is key here to prevent lumps of cocoa and to aerate the flour. Gradually add these dry ingredients to your wet batter, mixing just until the last streak of flour disappears.
Fold in Any Mix-ins:
If you’re adding nuts or extra chocolate chips, now’s the time. Gently fold them into the thick, fudgy dough until they’re evenly distributed. Try not to overmix at this stage.
Scoop the Dough:
Use a cookie scoop or a rounded tablespoon to drop mounds of dough onto your prepared baking sheets, spacing them about two inches apart. This gives them enough room to spread just a bit without merging together in the oven.
Bake Until Just Set:
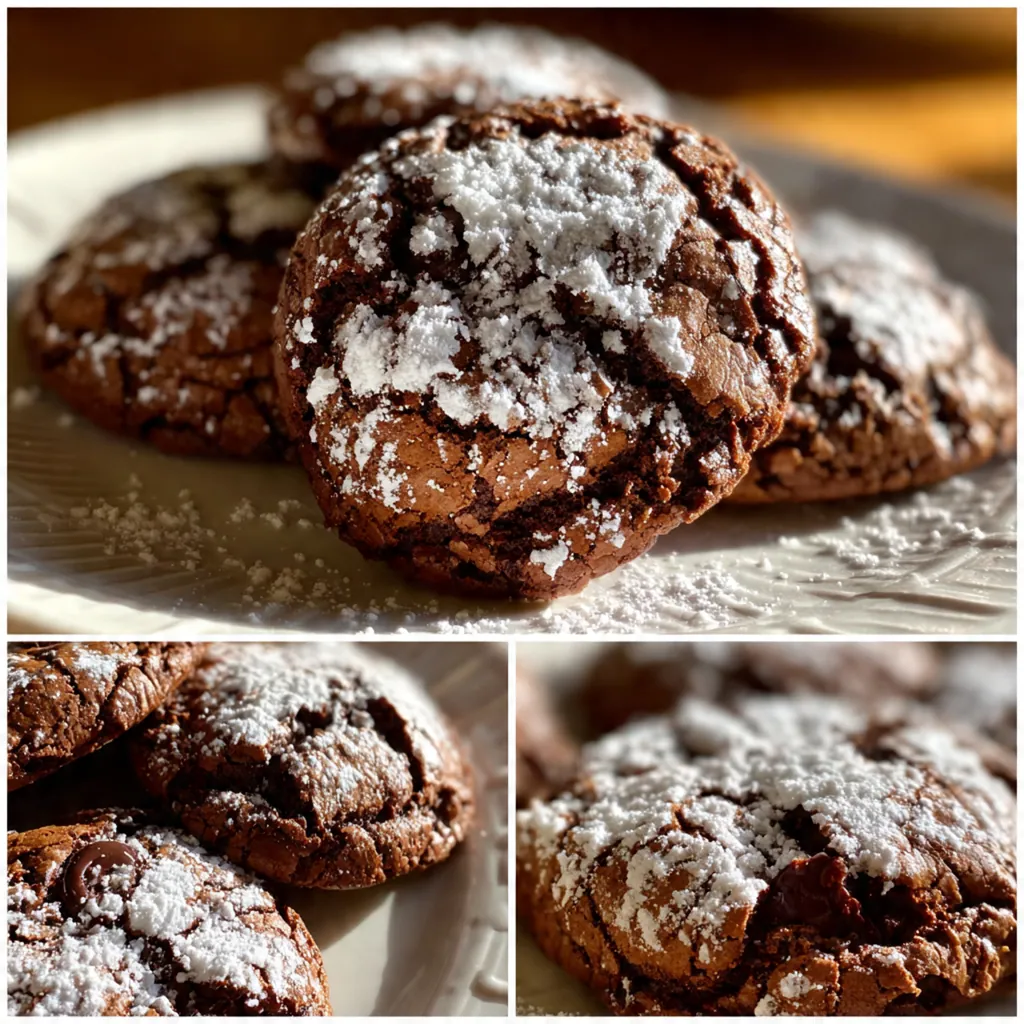
Bake for 10 to 12 minutes. The cookies are done when the edges look set but the centers still appear soft, puffed, and slightly underbaked. This is the secret to their fudgy, brownie-like interior.
Cool on the Sheet:
Pull the baking sheets from the oven and let the cookies rest right on the hot pan for five full minutes. This crucial step allows them to finish cooking and firm up enough to handle without falling apart.
Transfer to a Rack:
After their short rest, use a spatula to carefully transfer each Meltaway Brownie Cookie to a wire rack to cool completely. This stops the cooking process and lets the chewy texture fully develop before you dive in.
You Must Know
- Pull them from the oven when the centers still look soft
- Room temperature eggs prevent chocolate from seizing
- Dutch-process cocoa gives the deepest chocolate flavor
- Chilling sticky dough for 15 minutes makes scooping easier
- These are my number-one requested cookie
Storage Tips
Once your Meltaway Brownie Cookies have cooled completely, the best way to keep them fresh is in an airtight container at room temperature – they’ll stay perfect for up to five days, though I doubt they’ll last that long. For longer storage, you can freeze them by placing the cooled cookies in a single layer on a tray until they’re firm, then transferring them to a freezer bag where they’ll be good for about three months. I like to sneak one straight from the freezer for a cold, fudgy treat, or you can just let them thaw on the counter for 20 minutes.
Ingredient Substitutions
If you don’t have Dutch-process cocoa, a natural unsweetened cocoa powder will still work, but expect a slightly more acidic chocolate flavor. For a gluten-free version, swap the all-purpose flour for a trusted 1:1 gluten-free flour blend and proceed exactly as written. If dairy is a concern, use a high-quality dairy-free butter stick and make sure your chocolate is dairy-free too. The optional nuts can be swapped for anything from pretzel pieces to dried cherries, or just leave them out for pure chocolate bliss.
Serving Suggestions
These are phenomenal still slightly warm with a cold glass of milk, but I also love serving them slightly crumbled over a scoop of vanilla ice cream for an instant brownie sundae. They’re sturdy enough for a lunchbox treat but elegant enough for a holiday cookie plate, and they pair wonderfully with an afternoon cup of coffee. For a next-level dessert, sandwich a small scoop of coffee or mint chocolate chip ice cream between two cookies for the ultimate ice cream sandwich.
Cultural Context
The concept of a brownie cookie is a distinctly American innovation, born from the love of two beloved, classic desserts and the constant quest for the perfect texture combination. While the brownie itself has debated origins dating back to the late 1800s, the modern ‘brookie’ or hybrid treat is a testament to contemporary baking’s playful spirit, where rules are meant to be deliciously bent. This recipe takes that idea to its logical, melt-in-your-mouth conclusion, using familiar pantry ingredients to create something that feels both nostalgic and entirely new.
Pro Tips
- Don’t overbake – soft centers are your goal
- A cookie scoop is your best friend for even baking
- Dough too sticky? A quick 15-minute chill works wonders
- Let them cool on the sheet to set properly
- I always use Dutch-process cocoa for this recipe
Frequently Asked Questions
Dutch-processed cocoa powder is highly recommended for these cookies because it’s been alkalized, resulting in a darker color, smoother flavor, and richer chocolate taste that perfectly complements the semi-sweet chocolate. If you only have natural cocoa powder, they’ll still be delicious but may have a slightly more acidic, intense chocolate flavor.
Absolutely! The cookie dough balls freeze wonderfully. Scoop them onto a baking sheet, freeze solid, then transfer to a freezer bag. Bake straight from the freezer, adding 1-2 minutes to the cook time. You can also store baked cookies in an airtight container at room temperature for 3-4 days.
If you only have salted butter, simply omit the 1/2 teaspoon of salt called for in the recipe. We don’t recommend substituting with oil or margarine, as the butter is crucial for the cookies’ rich flavor and melt-in-your-mouth texture. For a dairy-free version, use a high-quality vegan butter stick that performs like real butter in baking.
Bake for the recommended 10 minutes. The cookies will look set around the edges but still soft and puffy in the center. They will continue to firm up as they cool on the baking sheet. Don’t overbake them if you want that signature fudgy, meltaway center. A slight crackle on top is a good sign!
These rich, chocolatey American dessert cookies are fantastic on their own with a glass of cold milk. For a decadent treat, serve them slightly warm with a scoop of vanilla bean ice cream. They also pair beautifully with a cup of strong coffee or a glass of red wine to balance the sweetness.