

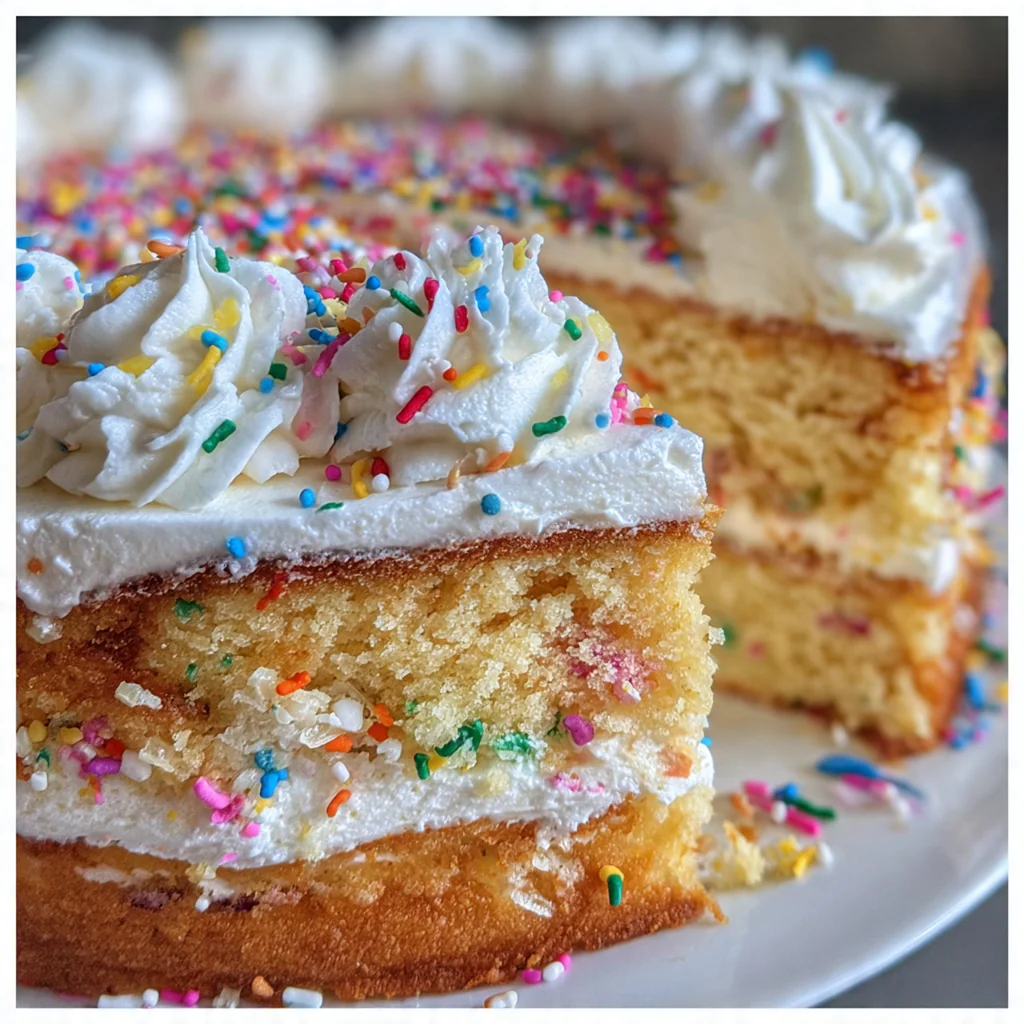
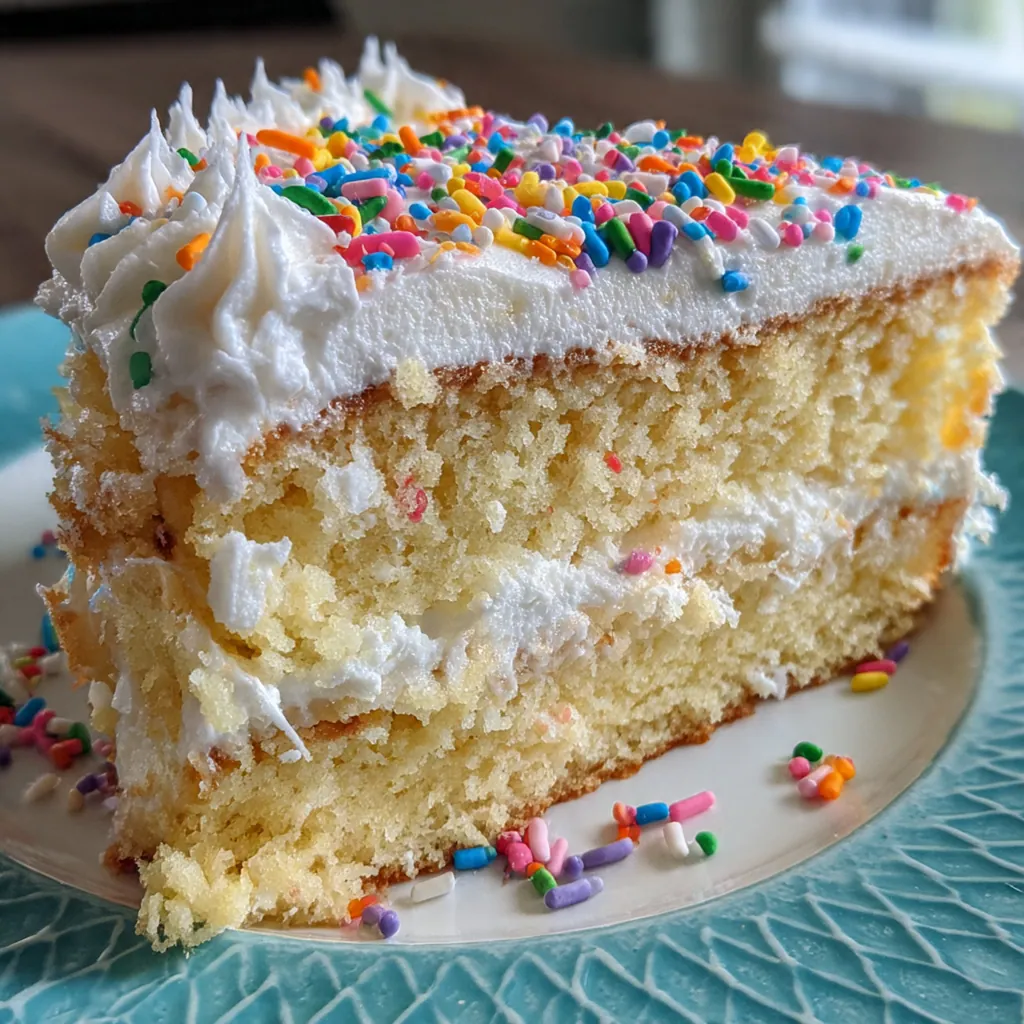
This classic Vanilla Birthday Cake is the ultimate celebration dessert, a timeless American tradition that promises soft, fluffy layers and a rich, comforting flavor every single time. Making a homemade cake is far easier than you think, and the result is a show-stopping centerpiece that makes any birthday feel extra special. It’s the kind of recipe that builds sweet memories, relying on pantry staples you likely already have on hand. Topped with a velvety vanilla buttercream, this is the go-to birthday treat you’ll return to for years.
Why You'll Love This Recipe
- Moist and fluffy cake layers every time thanks to simple techniques
- Uses pantry staples you probably already have in your kitchen
- Easily customizable with your favorite colors, sprinkles, or frostings
- Makes any celebration feel extra special with a homemade touch
- It freezes well so you can bake ahead for stress-free celebrating
Ingredients You’ll Need
- All-purpose flour: creates the sturdy yet tender structure needed for perfect cake layers, always measure by spooning and leveling for accuracy.
- Baking powder: the key leavening agent that gives this cake its signature fluffy lift and soft crumb.
- Salt: a pinch enhances all the other flavors and balances the sweetness of the frosting and batter.
- Unsalted butter, softened: forms the rich, tender base of both cake and frosting, using unsalted lets you control the salt level perfectly.
- Granulated sugar: sweetens the cake and helps create a light texture when creamed properly with the butter.
- Large eggs, at room temperature: bind the batter and add moisture and structure, room temperature ingredients blend smoothly for an even bake.
- Vanilla extract: the star flavor that gives a warm, aromatic depth, pure extract makes a noticeable difference over imitation.
- Whole milk, at room temperature: adds necessary liquid for the batter and helps create a supremely moist, tender cake crumb.
- Powdered sugar, sifted: dissolves beautifully into the butter to create a smooth, spreadable frosting without any gritty texture.
- Sprinkles for decoration: a fun, colorful finish that makes the cake feel celebratory and special for any guest of honor.
- Fresh berries: an optional fresh topping that adds a pop of color and a lovely tart contrast to the sweet cake.
How to Make It
Prep Your Pans and Oven:
Start by preheating your oven to 350°F so it’s perfectly hot when your batter is ready. Grease and flour your two cake pans, then line the bottoms with parchment paper rounds. This simple step guarantees your cakes will release cleanly without any sticking, which is a game-changer for easy assembly later.
Combine Your Dry Ingredients:
In a medium bowl, whisk together the flour, baking powder, and salt until they’re completely uniform. Doing this first aerates the flour and ensures the leavening is evenly distributed, which is the secret to a cake that rises evenly without any dense spots.
Cream Butter and Sugar:
In a large bowl, use an electric mixer to beat the softened butter and granulated sugar together on medium-high speed. You’ll want to keep going for a full 3 to 4 minutes until the mixture is pale, light, and fluffy. This step incorporates air, which is crucial for that soft, tender texture you’re after.
Incorporate Eggs and Vanilla:
Add the eggs one at a time, beating well after each addition before adding the next. This allows each egg to fully emulsify into the butter mixture, creating a stable, smooth base. Then mix in the vanilla extract to infuse the batter with that classic, warm flavor.
Alternate Dry Ingredients and Milk:
With your mixer on low speed, begin adding your dry mixture and the milk in additions, starting and ending with the flour. Mix just until the last streaks of flour disappear, then stop immediately. Overmixing at this stage develops gluten and leads to a tough cake, so a light hand is key.
Bake to Perfection:
Divide the batter evenly between your prepared pans and smooth the tops with a spatula. Bake for 25 to 30 minutes until a toothpick inserted into the very center comes out with just a few moist crumbs. This is the most reliable test for doneness, ensuring your layers are cooked through but still incredibly moist.
Cool the Cake Layers:
Let the cakes cool in their pans on a wire rack for about 10 minutes. This allows them to firm up just enough so they won’t break when you turn them out. Then, carefully invert them onto the racks, peel off the parchment, and let them cool completely before you even think about frosting.
Make the Vanilla Buttercream:
In a clean large bowl, beat the softened butter on medium speed until it’s creamy and smooth. Gradually add the sifted powdered sugar, one cup at a time, beating on low to avoid a sugar cloud. Once incorporated, add the milk, vanilla, and salt, then beat on medium-high until the frosting is light, fluffy, and spreadable, about 3 to 4 minutes.
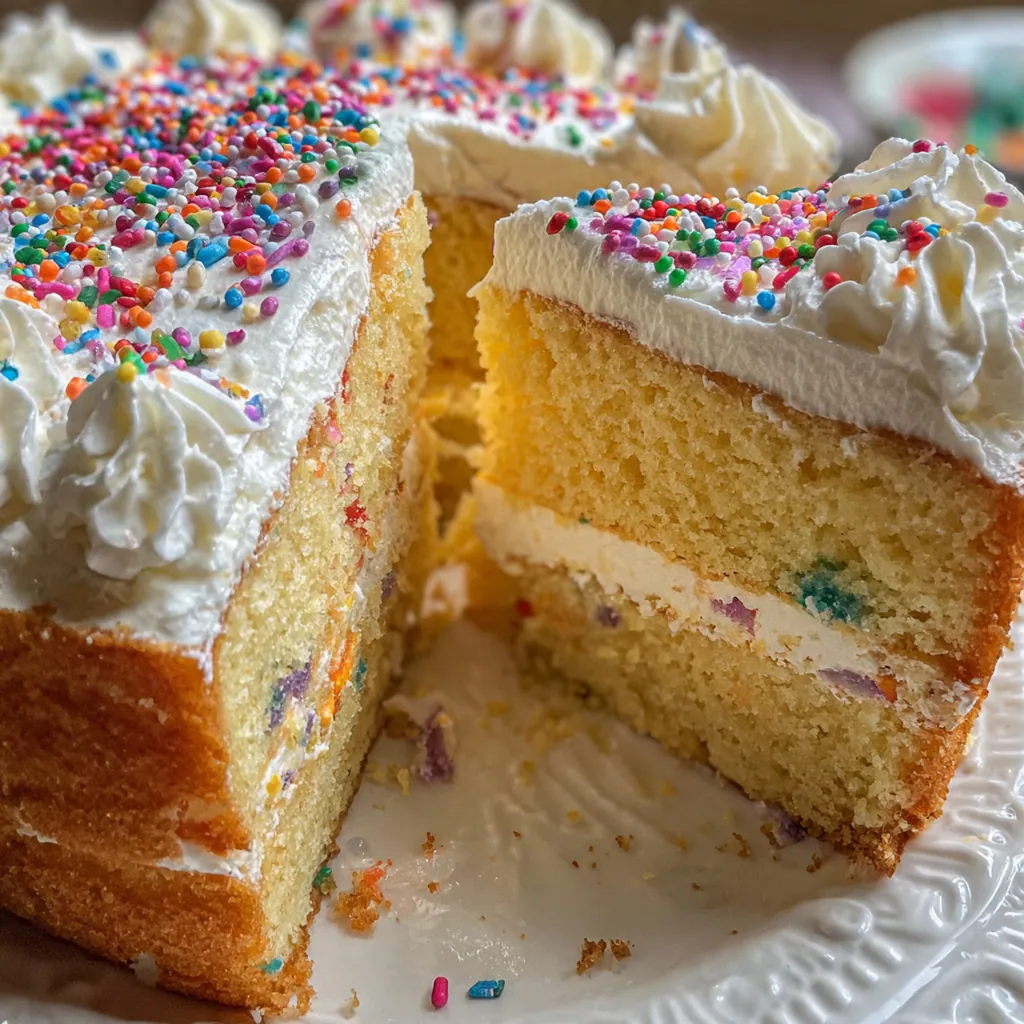
Assemble and Decorate:
Place your first cake layer on a serving plate or cake stand. Spread a generous, even layer of frosting on top, then gently place the second layer. Frost the top and sides of the entire cake with the remaining buttercream. Now’s the time to get creative with sprinkles or a crown of fresh berries for that perfect finishing touch.
You Must Know
- Room temperature ingredients are non-negotiable for a smooth, even batter
- Don’t overmix once you add the flour to keep the texture tender
- Chill cake layers briefly before frosting for easier handling
- That buttercream can be adjusted with a splash more milk or sugar
- This cake freezes beautifully, making celebrations stress-free
Storage Tips
You can store your frosted vanilla birthday cake right on the counter in an airtight container for up to two days, which is perfect if you’re serving it soon. For longer storage, pop it in the fridge for up to five days, just let a slice come to room temp for about 20 minutes before eating so the frosting softens. If you want to get a head start, wrap the cooled, unfrosted cake layers tightly in plastic wrap and then foil and freeze them for up to three months, then thaw at room temperature before you frost and decorate.
Ingredient Substitutions
If you need a dairy-free version, your favorite plant-based butter and milk will work beautifully in both the cake and frosting. For a gluten-free cake, swap the all-purpose flour for a trusted 1:1 gluten-free flour blend to keep that same tender texture. While eggs can be tricky, a commercial egg replacer formulated for baking can work, though the rise and crumb might be slightly different. Just remember, with any substitution, doing a test batch before the big day is always a smart move.
Serving Suggestions
I love serving a slice of this cake with a cold glass of milk for the ultimate classic combo, or alongside a scoop of vanilla ice cream for an extra-indulgent treat. For a festive brunch or afternoon party, pair it with a side of fresh strawberries or a handful of mixed berries to cut through the sweetness. A little drizzle of chocolate or caramel sauce never hurts either, letting your guests customize their perfect bite.
Cultural Context
The layer cake, particularly a vanilla birthday cake, is a deeply rooted icon in American baking tradition, symbolizing celebration and homemade care. It evolved from the classic American butter cake, a staple since the 18th century, prized for its simple, comforting flavors and reliable method. This version, with its fluffy layers and rich buttercream, represents the mid-century ideal of the perfect homemade celebration centerpiece, a ritual that turns a house into a home on someone’s special day. It’s less about fancy technique and more about the joy of gathering and sharing something made with your own hands.
Pro Tips
- Use cake strips around your pans for perfectly level layers every time
- Chill the cake layers for 15 minutes before frosting for crumb-free sides
- If frosting is too thick, add a teaspoon more milk; too thin, add a bit more sugar
- Always sift your powdered sugar to avoid lumps in your buttercream
- I always do a crumb coat for a super clean final look
Frequently Asked Questions
For the deepest, richest flavor in your Vanilla Birthday Cake, use pure vanilla extract. The recipe calls for a full tablespoon in the cake batter and two teaspoons in the buttercream, so the quality of your vanilla will shine through. While imitation vanilla can be used, pure extract provides a more complex and authentic taste that elevates this classic dessert.
Absolutely! You can bake the cake layers up to two days in advance. Once completely cooled, wrap them tightly in plastic wrap and store at room temperature. Prepare the buttercream frosting and store it in an airtight container in the refrigerator. Let it come to room temperature and re-whip before frosting the cake on the day you plan to serve it for the best texture and flavor.
If you don’t have whole milk, you can use 2% milk, but the cake may be slightly less rich. For a dairy-free Vanilla Birthday Cake, use an unflavored, unsweetened milk alternative like oat milk or almond milk. The key is to ensure any substitute is at room temperature, just like the recipe specifies, to properly emulsify with the butter and eggs for a perfect batter.
The cake is done when the edges are lightly golden and begin to pull away from the pan, and the center springs back when gently pressed. The most reliable test is inserting a toothpick into the center of the layer—it should come out clean or with a few moist crumbs, about 30 minutes in a preheated oven. Avoid opening the oven door too early, as this can cause the cake to fall.
This classic American Vanilla Birthday Cake is delicious on its own, but it pairs wonderfully with a scoop of vanilla ice cream, fresh berries like strawberries or raspberries, or a glass of cold milk. For a festive party spread, serve it alongside other simple desserts like cookies or a fruit platter to please all your guests.