

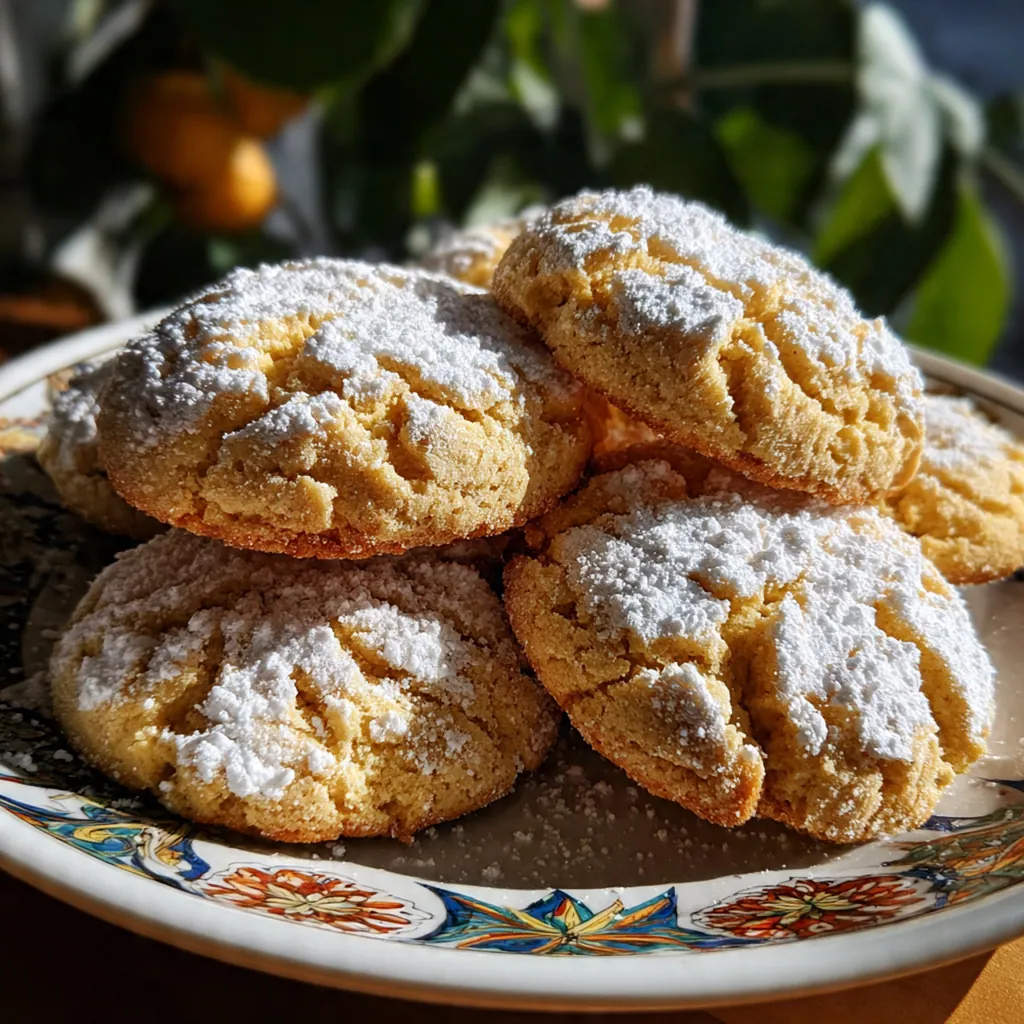
Classic butter cookies are the simple, elegant treat that feels like a warm hug from your oven. This American staple recipe focuses on rich, pure butter flavor and a tender, melt-in-your-mouth texture that’s impossible to resist. They’re the cookies you’ll find on holiday platters and at afternoon teas, beloved for their versatility and comforting taste. Making them from scratch is surprisingly easy and fills your kitchen with the best aroma you can imagine.
Why You'll Love This Recipe
- Rich, buttery flavor that literally melts in your mouth
- Simple pantry ingredients come together in minutes
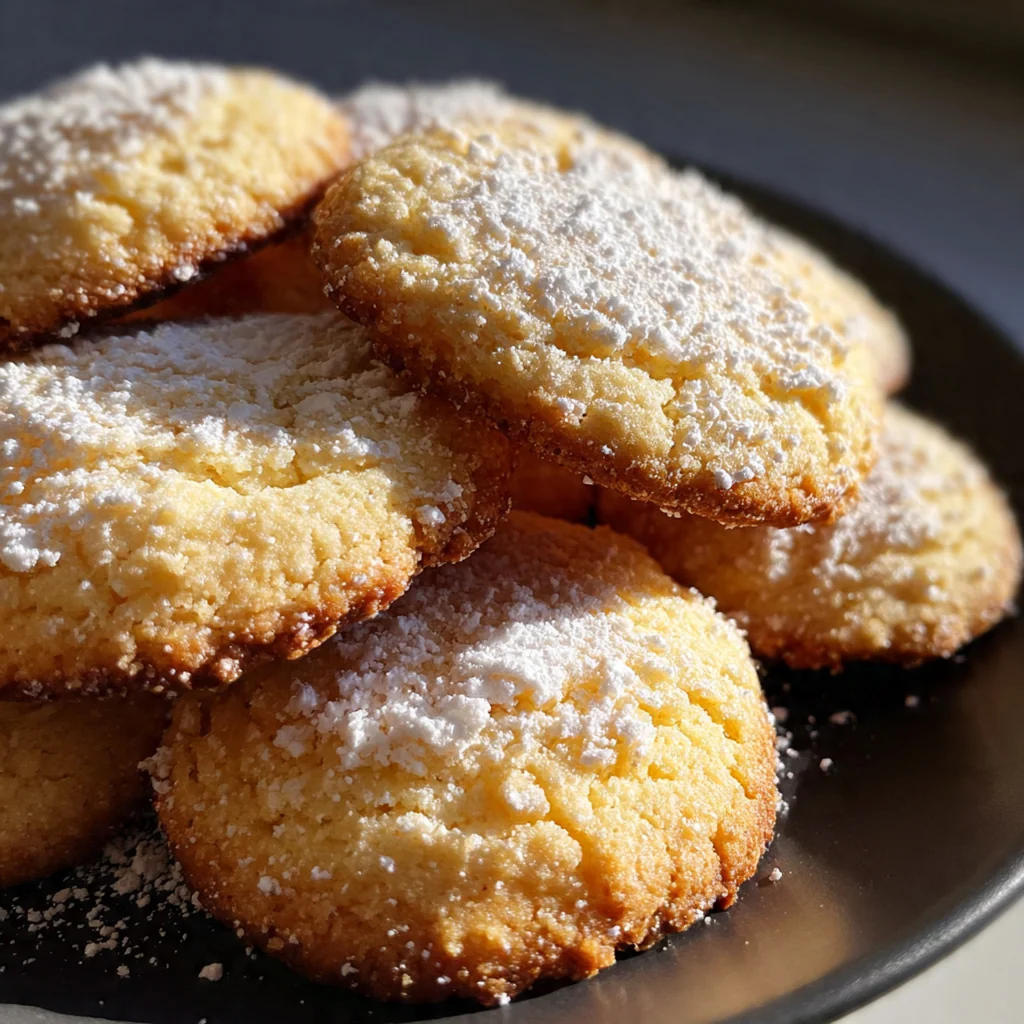
- Perfectly crisp edges with a soft, tender center
- You can customize them with different sugars and nuts
- My grandmother’s secret was always that splash of almond extract
Ingredients You’ll Need
- Unsalted butter: This is the star, so quality matters. Using unsalted lets you control the salt level and true butter flavor shines through.
- Granulated sugar: It provides sweetness and helps create that light, airy texture when creamed properly with the butter.
- Large egg yolk: The yolk adds richness, tenderness, and helps bind the dough without making it cakey.
- Pure vanilla extract: This deepens the overall flavor profile. Real vanilla extract makes a noticeable difference in taste.
- Almond extract: This is the secret weapon for that classic bakery flavor. A little goes a very long way.
- All-purpose flour: The foundation of the dough. Spooning and leveling it ensures you don’t pack in too much and dry out your cookies.
- Fine sea salt: It balances the sweetness and enhances the buttery flavor, making every component pop.
- Coarse sanding sugar: Rolling the dough balls in this creates a delightful crunch and sparkling, professional finish.
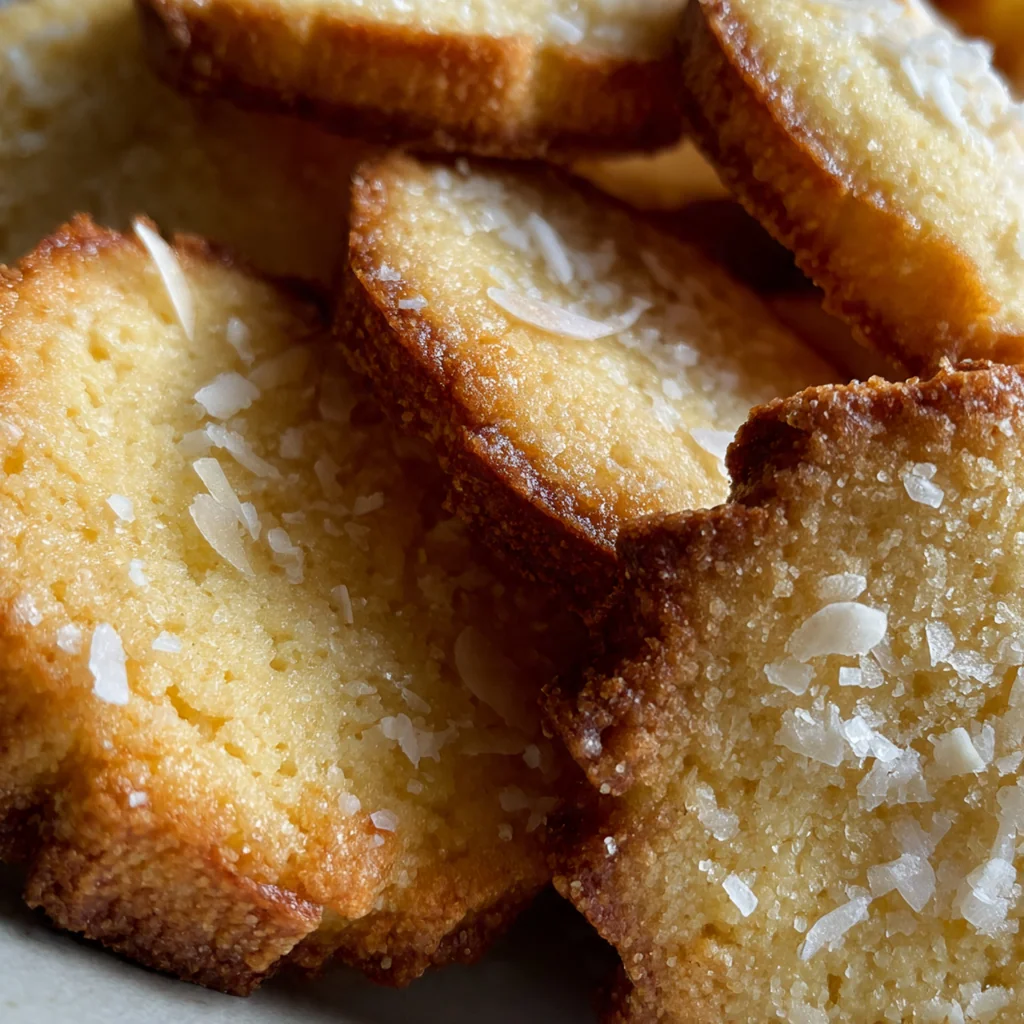
- Toasted pecans or almonds: Folding in nuts adds wonderful texture and a toasty, nutty flavor that complements the butter perfectly.
How to Make It
Preheat and Prepare:
Start by preheating your oven to 350°F and lining your baking sheets with parchment paper. This guarantees even baking and makes cleanup a breeze. You’ll want everything ready to go.
Cream Butter and Sugar:
In a large bowl, beat the softened butter and sugar together on medium speed until the mixture is pale, fluffy, and smooth. This step incorporates air, which is key for the cookies’ light texture. Don’t rush it.
Add Wet Ingredients:
Beat in the egg yolk and both extracts until the mixture is completely combined and looks creamy. Scrape down the sides of the bowl to make sure everything is evenly incorporated.
Combine Dry Ingredients:
In a separate bowl, whisk the flour and salt together. This distributes the salt evenly throughout the flour so every cookie is perfectly seasoned.
Form the Dough:
Gradually add the dry ingredients to the wet mixture, mixing on low speed just until a soft dough forms. If you’re adding nuts, fold them in gently with a spatula now. Overmixing will make the cookies tough.
Shape the Cookies:
Scoop tablespoon-sized portions of dough and roll them into smooth one-inch balls. For a festive look, roll each ball in a dish of coarse sugar until it’s completely coated.
Flatten and Arrange:
Place the dough balls on your prepared sheets, spacing them about two inches apart. Gently flatten each one with the bottom of a glass or the tines of a fork to about a half-inch thickness.
Bake to Perfection:
Bake for 10 to 12 minutes, until the edges are just turning a light golden brown. The centers will still look soft, but that’s perfect. They’ll firm up as they cool.
Cool Completely:
Let the cookies rest on the baking sheet for five full minutes. This allows them to set. Then, transfer them to a wire rack to cool completely, which helps them achieve their signature crisp-tender texture.
You Must Know
- Softened butter is non-negotiable for the right texture
- Don’t overmix the dough once you add the flour
- Pull them from the oven when the edges are just golden
- They continue to set as they cool on the sheet
- I always make a double batch because they disappear fast
Storage Tips
Once your butter cookies are completely cool, store them in an airtight container at room temperature. They’ll stay fresh and maintain their wonderful texture for up to a week. For longer storage, you can freeze them beautifully. Just arrange the cooled cookies in a single layer in a freezer-safe container, separating layers with parchment paper, and freeze for up to three months. Thaw them right on the counter whenever a cookie craving strikes.
Ingredient Substitutions
If you only have salted butter, simply omit the extra fine sea salt called for in the recipe. You can swap the almond extract for more vanilla, or try a bit of lemon extract for a citrus twist. For the sanding sugar, regular granulated sugar works fine but won’t give the same sparkle, or you can use colorful sprinkles for a fun look. If nuts aren’t your thing, just leave them out for a pure, classic butter cookie. For a gluten-free version, a good quality one-to-one gluten-free flour blend works perfectly in this recipe.
Serving Suggestions
These butter cookies are fantastic with a hot cup of coffee or a pot of tea, where they can really shine as the star of your snack time. They’re also perfect arranged on a platter with other cookies for a holiday gathering or a simple dessert buffet. For a special treat, try sandwiching two cookies together with a little jam or lemon curd. I love crumbling one over a scoop of vanilla ice cream for an easy, elegant sundae.
Cultural Context
Butter cookies hold a cherished place in American home baking, tracing their roots back to simple shortbread recipes brought over by European immigrants. They became a staple of community cookbooks and church bake sales, prized for their economical ingredients and foolproof method. What sets the American classic apart is often that touch of vanilla or almond extract, adding a layer of warm flavor that feels uniquely welcoming. Today, they’re a symbol of homemade generosity, the kind of treat you package in a tin to give to a neighbor or set out for guests.
Pro Tips
- Your butter should be soft enough to leave a dent when pressed
- Use a cookie scoop for perfectly even portions every time
- Chill the dough for 20 minutes if it gets too warm to handle
- Let the baking sheets cool between batches for consistent results
- I find storing them with a piece of bread keeps them tender
Frequently Asked Questions
Absolutely. The almond extract is optional and adds a subtle nutty note. You can simply omit it for pure vanilla flavor, or replace it with an equal amount of additional vanilla extract, or even try a different extract like lemon or orange for a citrus twist.
Yes, the dough logs can be wrapped tightly in plastic wrap and refrigerated for up to 3 days or frozen for up to 3 months. Slice and bake straight from the fridge or freezer, adding a minute or two to the bake time if frozen.
If you don’t have fine sea salt, you can use an equal amount of regular table salt. Just be sure it’s finely ground to distribute evenly. Kosher salt can be used, but use a slightly heaped 1/4 teaspoon as its crystals are larger and less dense by volume.
The butter cookies are done when the edges are just beginning to turn a very light golden brown, about 10-12 minutes. The centers will still look soft but will firm up as they cool on the baking sheet. Don’t overbake for the best tender texture.
These classic American butter cookies are perfect on their own with a glass of cold milk or a cup of coffee or tea. For a festive dessert, you could serve them alongside a scoop of vanilla ice cream or a bowl of fresh berries.