

A perfect classic pumpkin pie is the ultimate symbol of autumn and the centerpiece of countless holiday tables. This American dessert, with its roots in early colonial times, evolves from a simple squash dish into the spiced custard we adore today. My version captures that deep, warm flavor and creamy texture that feels like a hug in dessert form. You’ll find making the filling from scratch with real pumpkin puree makes all the difference, creating a pie far superior to any store-bought version.
Why You'll Love This Recipe
- The blend of spices feels warm and comforting without overpowering the pumpkin
- You get a rich, authentic flavor from real pumpkin puree that you can actually taste
- The texture is perfectly creamy and sliceable, never turning out gummy or watery
- It’s the nostalgic dessert that makes any autumn gathering feel instantly special
- I’ve been making this exact recipe for years and my family won’t accept any substitutes
Ingredients You’ll Need
- Pumpkin puree: opt for pure canned pumpkin, not pumpkin pie filling, which already has spices and sweeteners added. This gives you full control over the flavor and ensures a pure, fresh taste.
- Light brown sugar: its molasses notes add a deep, caramel-like sweetness that pairs perfectly with the warm spices. Pack it firmly into your measuring cup for an accurate amount.
- All-purpose flour: just a tablespoon helps stabilize the custard filling as it bakes, giving you that perfect sliceable texture without any weeping or cracking.
- Ground cinnamon: this is the backbone of your spice profile, providing that familiar warmth. Use a fresh jar for the most vibrant flavor.
- Ground ginger: it adds a little spicy kick and complexity that balances the sweetness. Freshly ground ginger powder has the best potency.
- Ground nutmeg: a little goes a long way, offering a nutty, slightly sweet depth. I always grate my own from a whole nutmeg for the brightest flavor.
- Ground cloves: use a light hand as cloves are powerful, but they provide an essential warm, aromatic note that defines classic pumpkin pie spice.
- Fine salt: don’t skip it, as salt enhances all the other flavors and balances the sweetness of the custard filling beautifully.
- Large eggs: they act as the main thickening agent for the custard. Room temperature eggs blend into the filling much more smoothly.
- Heavy cream: this is the key to a luxuriously rich and creamy texture. The high fat content prevents the custard from curdling during baking.
- Whole milk: combining it with the heavy cream creates the perfect custard base that’s rich but not overly heavy, allowing the pumpkin flavor to shine.
- Pure vanilla extract: it adds a subtle layer of sweetness and aroma that rounds out all the other flavors in your pumpkin pie.
- Unbaked pie crust: a homemade all-butter crust is fantastic, but a good quality store-bought crust works perfectly too. Keep it cold until you’re ready to fill it.
How to Make It
Preheat and Prepare Your Pan:
Start by preheating your oven to 425°F and placing your pie dish with the unbaked crust on a rimmed baking sheet. The baking sheet makes it easier to move the pie and catches any potential drips, saving you from a messy oven cleanup later.
Combine Dry Ingredients with Pumpkin:
In a large bowl, whisk together the pumpkin puree, brown sugar, flour, cinnamon, ginger, nutmeg, cloves, and salt until you have a completely smooth mixture. You want to break up any lumps of brown sugar now so the filling is perfectly homogenous.
Incorporate the Eggs:
Crack your eggs into a separate small bowl and beat them lightly with a fork just until the yolks and whites are combined. Pour them into the pumpkin mixture and whisk vigorously. This step ensures the eggs blend in evenly without any streaks, which is crucial for a smooth custard.
Add the Liquids:
Gradually pour in the heavy cream, milk, and vanilla extract while whisking constantly. Go slowly at first to help everything emulsify, then whisk until the filling is silky and completely uniform in color. You’ll see it transform into a beautiful, pourable custard.
Fill the Crust:
Carefully pour the pumpkin pie filling into your unbaked pie crust. Give the baking sheet a gentle tap on your countertop a few times. This releases any trapped air bubbles that could create pockets in your baked pie.
Start with a Hot Oven:
Place the baking sheet with the pie into your preheated 425°F oven and set a timer for 15 minutes. This initial blast of high heat helps set the crust and gives the filling a good start without needing to pre-bake the shell.
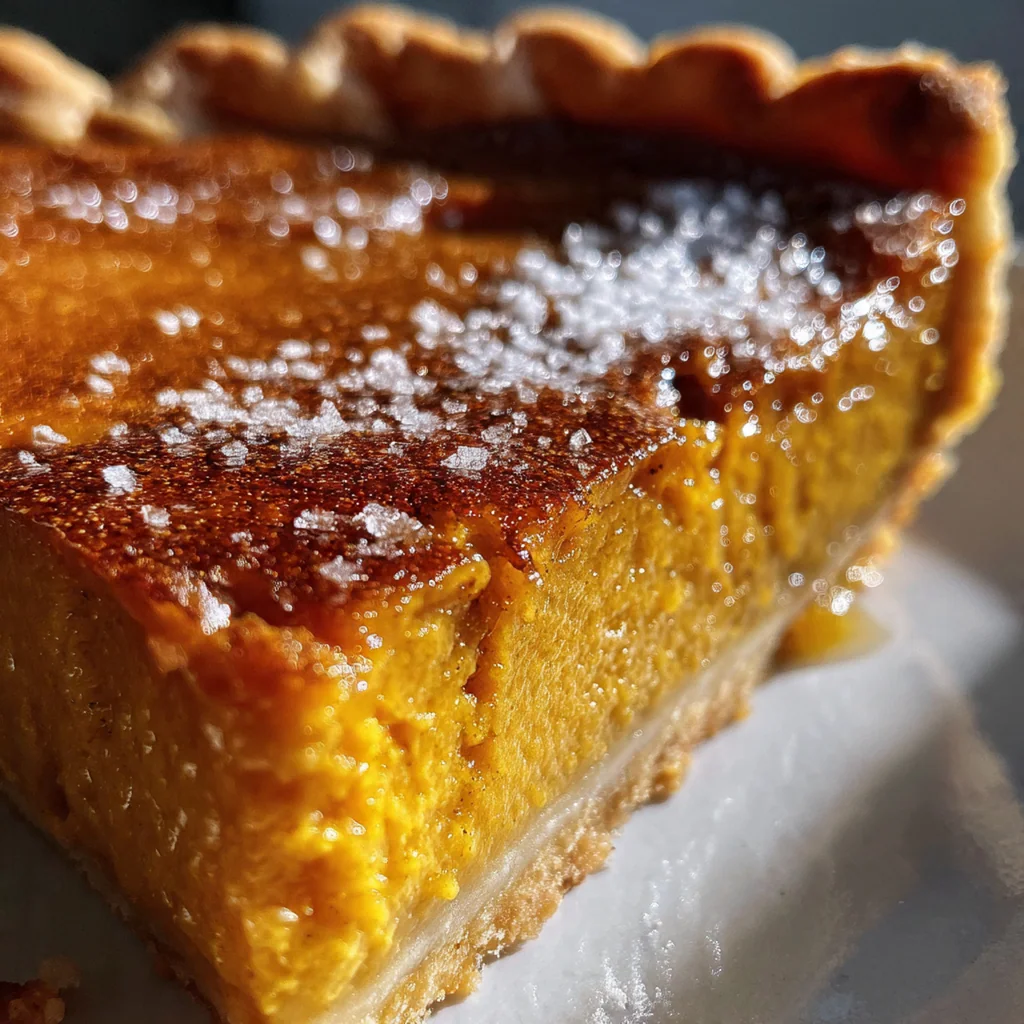
Reduce Heat and Finish Baking:
After 15 minutes, reduce the oven temperature to 350°F without opening the door. Continue baking for another 35 to 45 minutes. You’re looking for the edges to be puffed and set while the center still has a slight Jell-O-like wobble when you nudge the pan.
Cool Completely:
Transfer the pie on its baking sheet to a wire rack. Let it cool to room temperature, which takes at least 4 hours, but I prefer overnight. This cooling time is non-negotiable as it allows the custard to fully set so you can get clean slices.
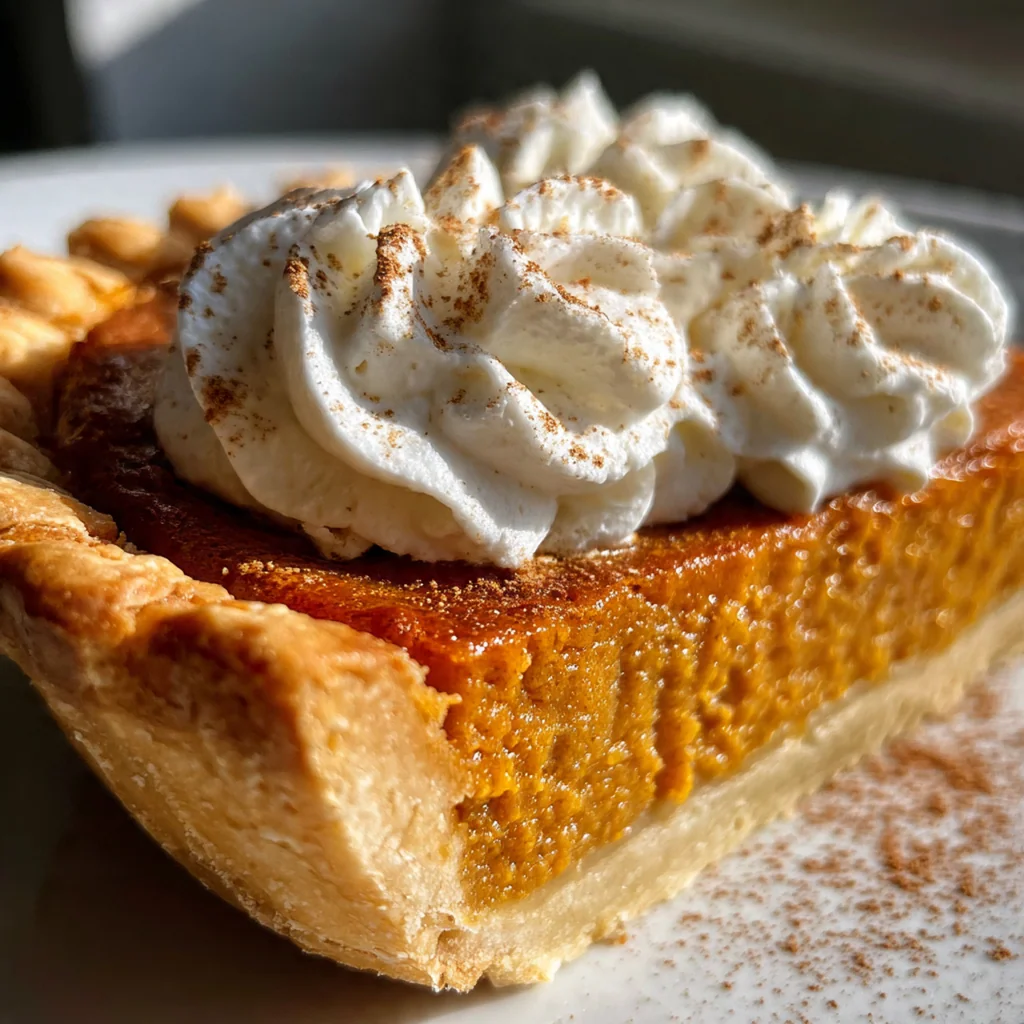
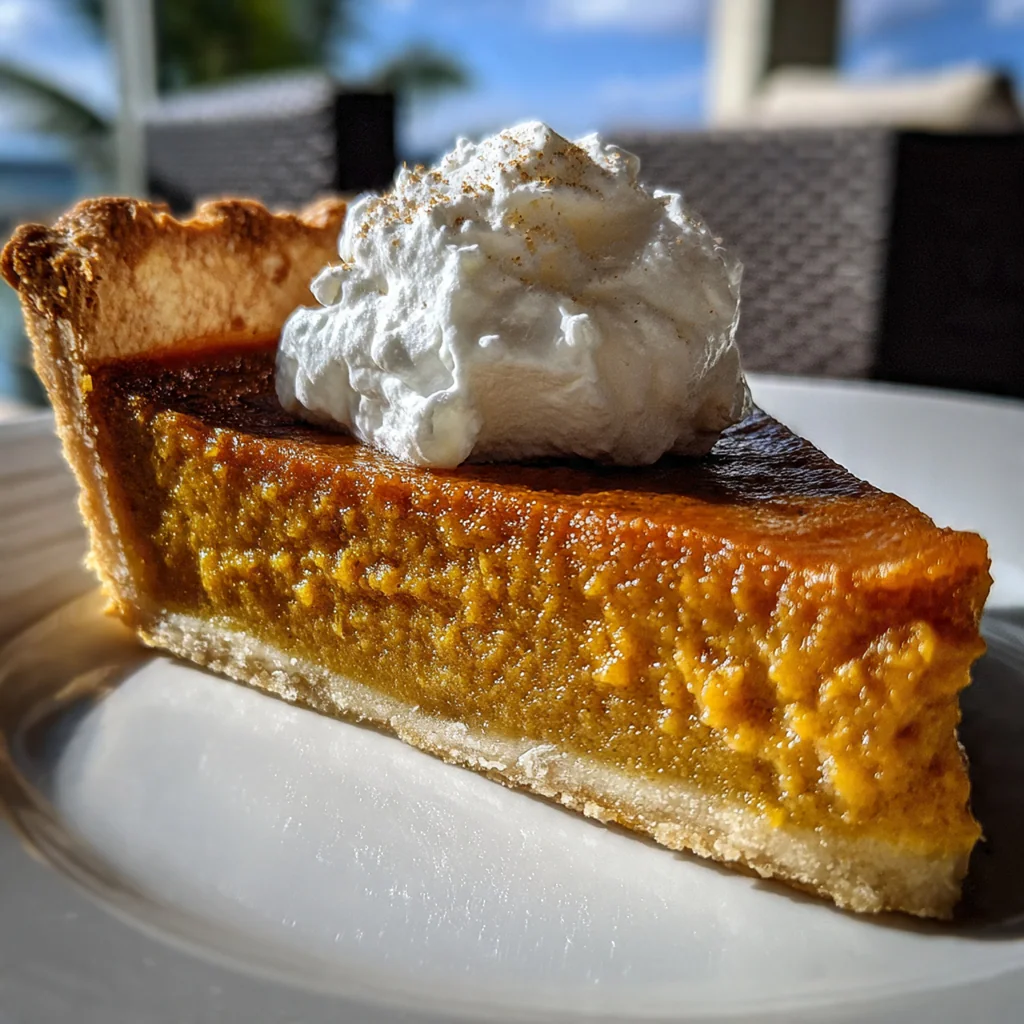
Serve and Garnish:
Once completely cool, slice your pumpkin pie with a sharp, thin knife. Serve each piece with a generous dollop of freshly whipped cream. A tiny pinch of flaky sea salt on top is my secret for making every flavor pop.
You Must Know
- Don’t use pumpkin pie filling by mistake, you need plain puree
- The center should still wobble slightly when you take it out
- Cooling for at least 4 hours is essential for a clean slice
- Room temperature ingredients blend into a smoother filling
- I always make mine a day ahead for the best flavor
Storage Tips
Once your pumpkin pie has cooled completely, cover it loosely with plastic wrap or aluminum foil and tuck it into the refrigerator where it will stay fresh for up to four days. If you want to freeze it, wrap the whole cooled pie tightly in a couple layers of plastic wrap and then a layer of foil to prevent freezer burn, and it’ll keep for about two months. Thaw it overnight in the fridge before serving. I don’t recommend freezing individual slices as the texture of the custard can suffer, but the whole pie holds up beautifully.
Ingredient Substitutions
If you’re out of heavy cream, you can use all whole milk or even half-and-half, though your pie will be slightly less rich. For a dairy-free version, replace both the heavy cream and milk with one and a quarter cups of full-fat canned coconut milk, which gives a wonderful creaminess and a very subtle tropical note that works well with the spices. In a pinch, you can use a pre-mixed pumpkin pie spice; use about one and three-quarter teaspoons to replace the individual spices listed. And if you only have granulated white sugar, you can use that, but you’ll miss the molasses depth that brown sugar provides, so I’d add a teaspoon of real maple syrup to the filling to compensate.
Serving Suggestions
A classic dollop of freshly whipped cream is my go-to, but for a show-stopping twist, try a scoop of rich vanilla bean ice cream slowly melting into the warm spices. Drizzling a little caramel or salted bourbon caramel sauce over the top adds a beautiful glossy finish and extra layer of sweetness. For some crunch, sprinkle chopped toasted pecans or walnuts over the whipped cream, or even mix them right into the filling before baking for a textured surprise in every bite. It’s also fantastic with a simple dusting of cinnamon sugar or alongside a sharp cheddar cheese slice, a traditional pairing that sounds odd but is absolutely magical.
Cultural Context
The pumpkin pie we know today is a truly American creation, evolving from early colonial practices of hollowing out pumpkins, filling them with spiced milk, and roasting them whole in ashes. By the 19th century, recipes resembling our modern custard-based version, baked in a pastry crust, began appearing in cookbooks, cementing its place as a Thanksgiving staple. Its popularity soared with the invention of canned pumpkin puree in the early 20th century, making the once-laborious dessert accessible to everyone. This pie represents more than just dessert; it’s a symbol of harvest, homecoming, and tradition, evoking a deep sense of nostalgia and comfort that few other dishes can match, which is why getting it just right feels so important.
Pro Tips
- Use room temperature eggs and cream so they blend smoothly without curdling
- Cover the crust edges with foil if they brown too quickly during baking
- The pie is done when the center jiggles like Jell-O, not liquid
- Make it a day ahead so the flavors fully develop and meld
- Bake a frozen store-bought crust straight from the freezer for best results
- I never skip the overnight chill, it’s the secret to perfect slices
Frequently Asked Questions
Absolutely! You’ll need about 1 3/4 cups of homemade pumpkin puree. Just make sure it’s thick and well-drained, as excess moisture can lead to a soggy pie. Using a cheesecloth or fine-mesh strainer to remove liquid is a great tip for a perfect pumpkin pie filling.
Yes, pumpkin pie is an excellent make-ahead dessert. You can bake it 1-2 days before serving. Once cooled, cover it loosely with plastic wrap or foil and store it in the refrigerator. This actually allows the flavors to meld beautifully.
For a slightly lighter version, you can use half-and-half or evaporated milk in place of the heavy cream. However, using heavy cream ensures the richest, creamiest pumpkin pie texture. Substituting may result in a slightly less custardy consistency.
The center should look mostly set but still have a slight jiggle, about 1-2 inches in diameter, when you gently shake the pan. A knife inserted near the edge should come out clean, but the center will firm up as it cools. Overbaking can cause cracking.
A dollop of freshly whipped cream or a scoop of vanilla ice cream is the classic American accompaniment. For a festive touch, add a sprinkle of cinnamon or toasted pecans on top. It’s perfect for Thanksgiving, but welcome at any fall gathering.